Browse Category

vRealize Automation 8

VMware vRealize Automation 8

Upgrading Aria Operations to 8.17.2 via Aria Suite Lifecycle

In this post i will go over upgrading my 8.x Aria Operations appliance to 8.17.2 using Aria Suite Lifecycle. As a pre requirement we do need to have Aria Suite Lifecycle upgraded to 8.16. Instructions can be found here. The upgrade does not include the latest Product Support Pack. We can apply the latest Product Support Pack following the instructions here.

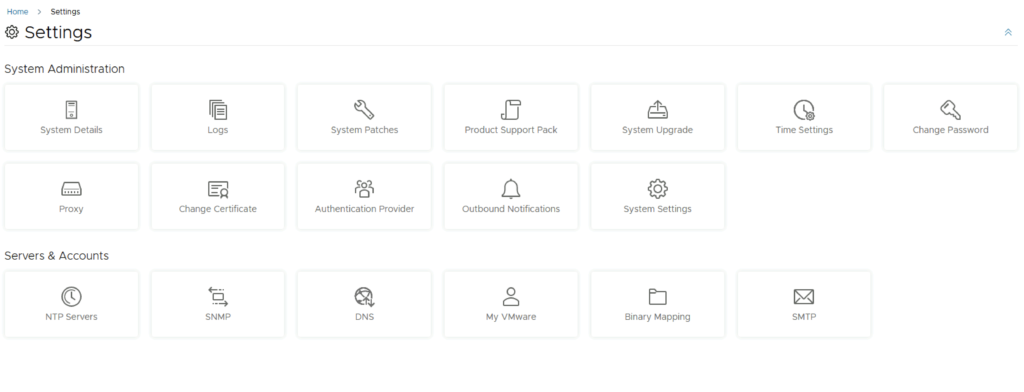
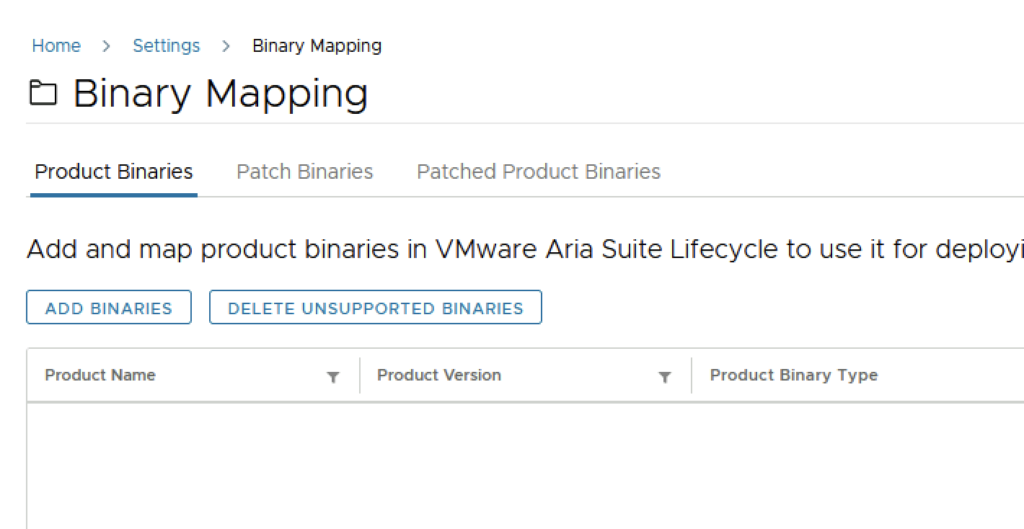
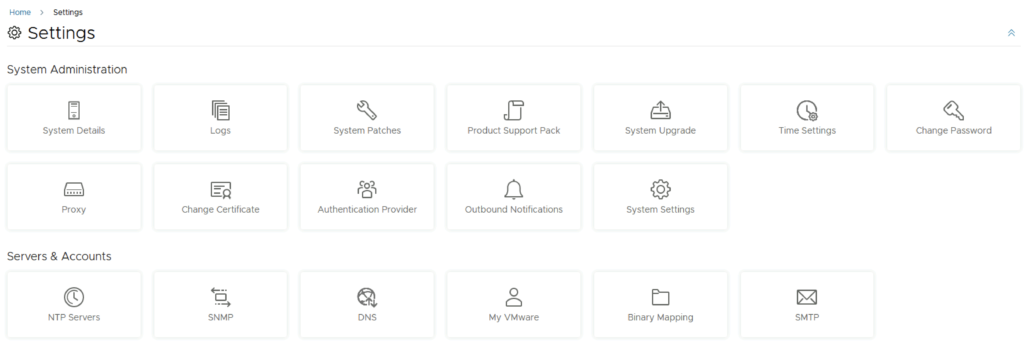
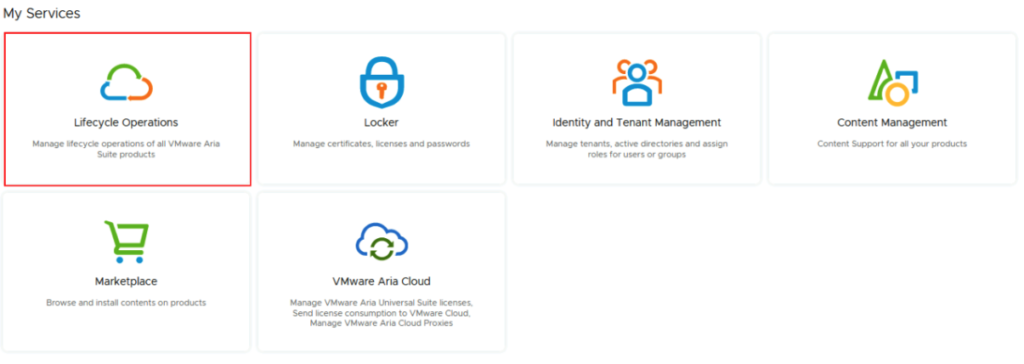
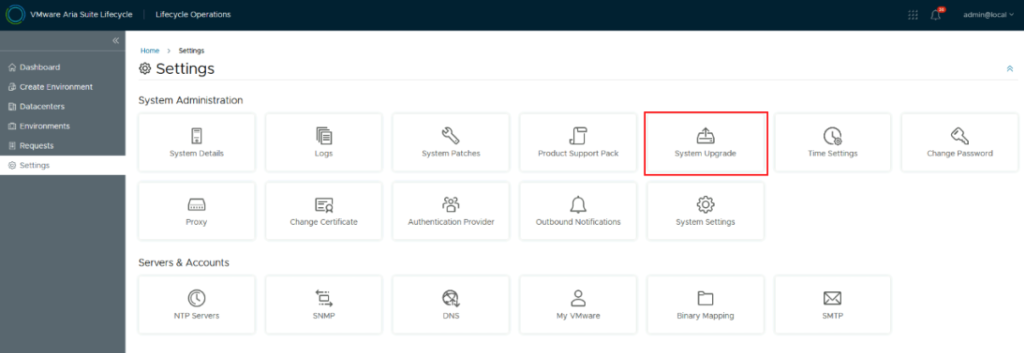
To get started we can go to Aria Suite Lifecycle -> Lifecycle Operations -> Settings -> Binary Mapping. (If you haven’t added your My VMware credentials you will need to do that first by going to Aria Suite Lifecycle -> Lifecycle Operations -> Settings -> My VMware)

Click on Add Binaries under Product Binaries

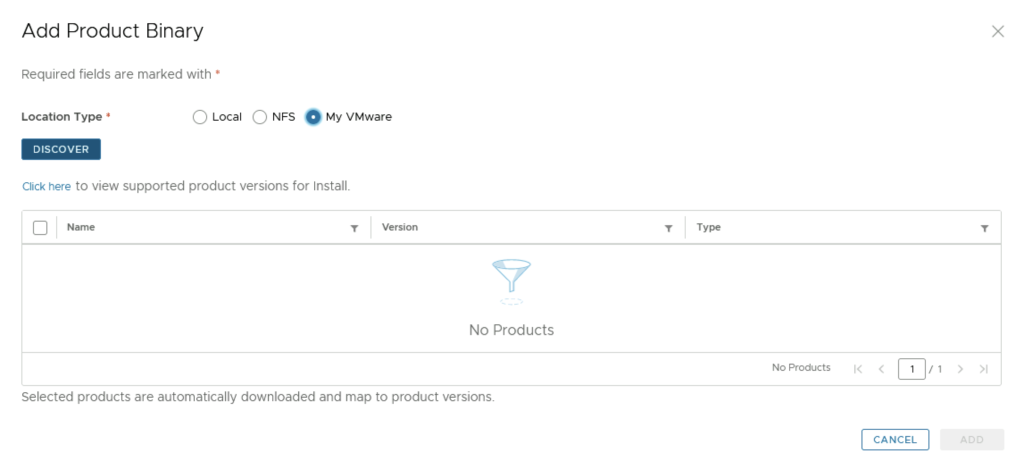
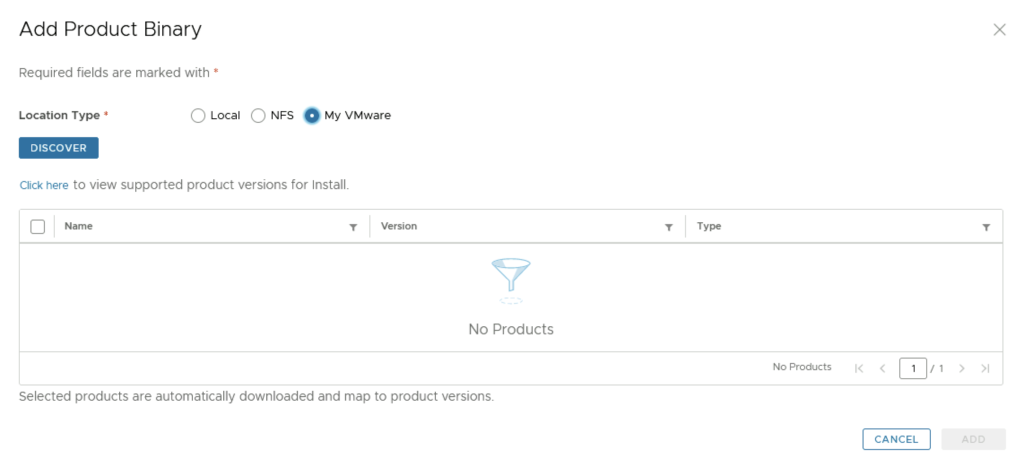
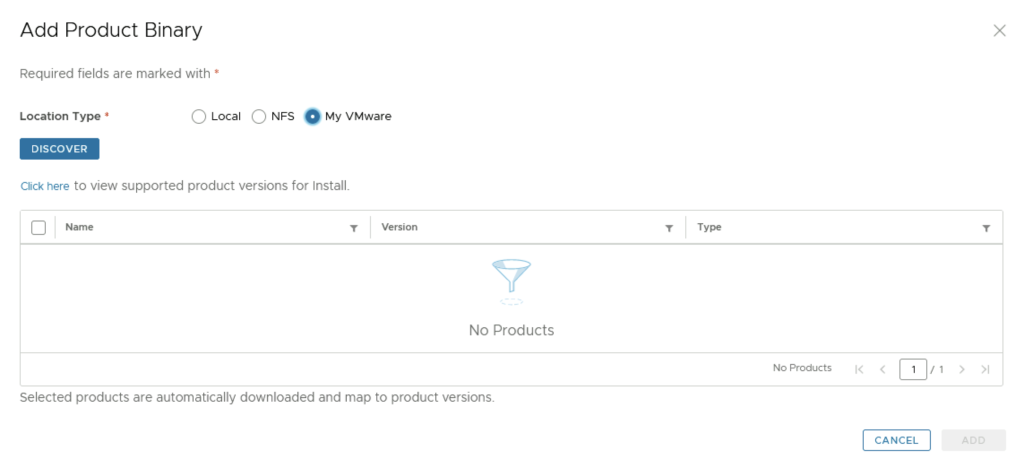
Select My VMware and click on Discover

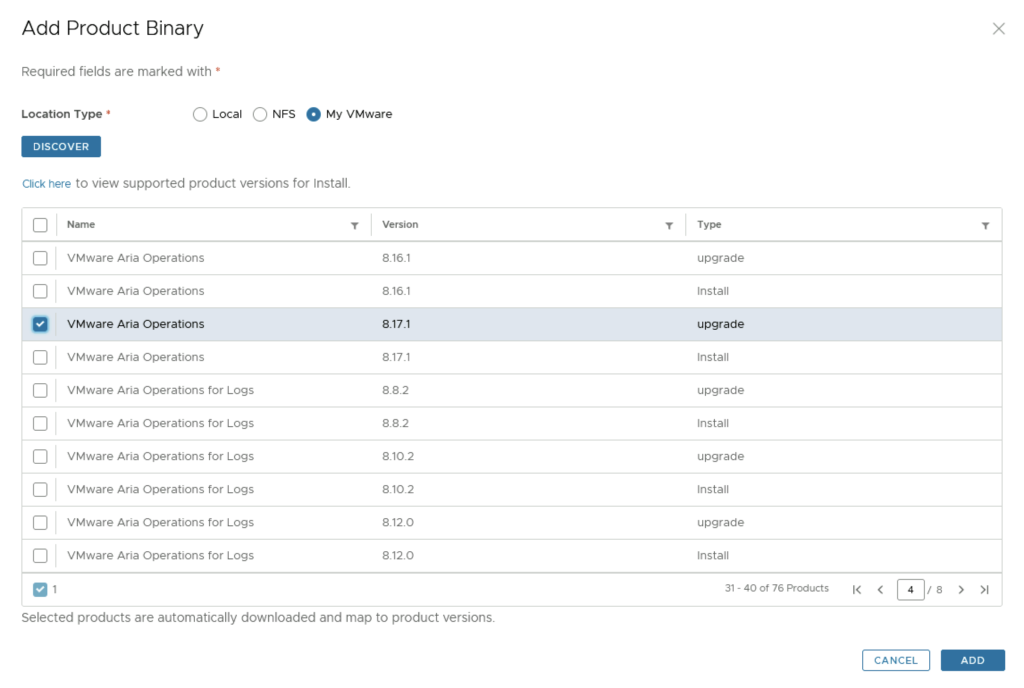
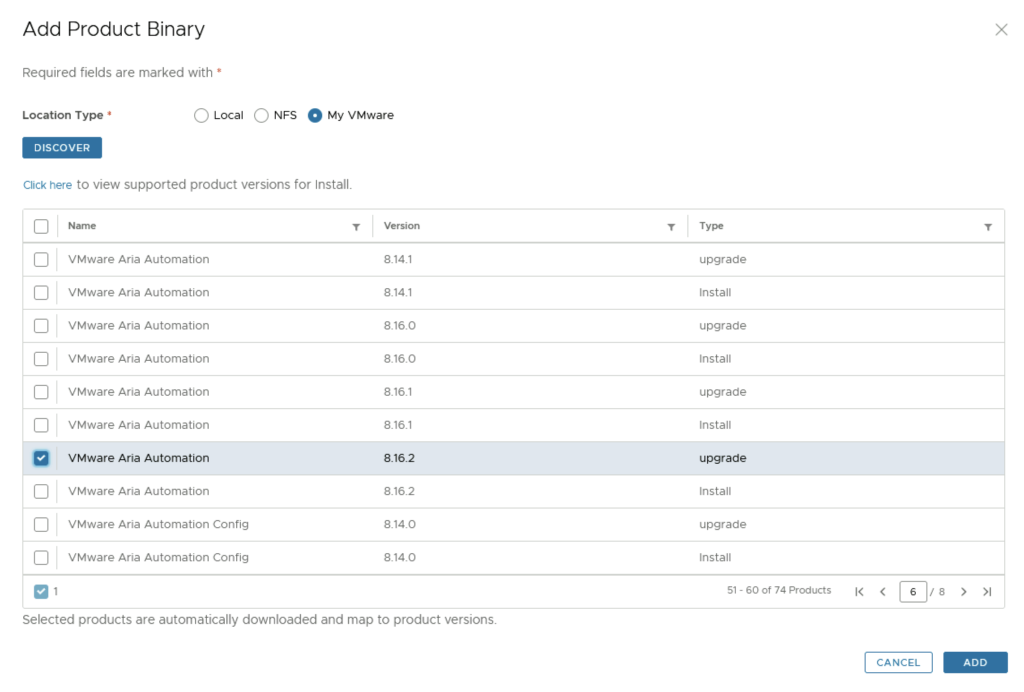
We can see a list of binaries that have been discovered. Make sure we select the upgrade package not the install package. We can select what we need and click on Add

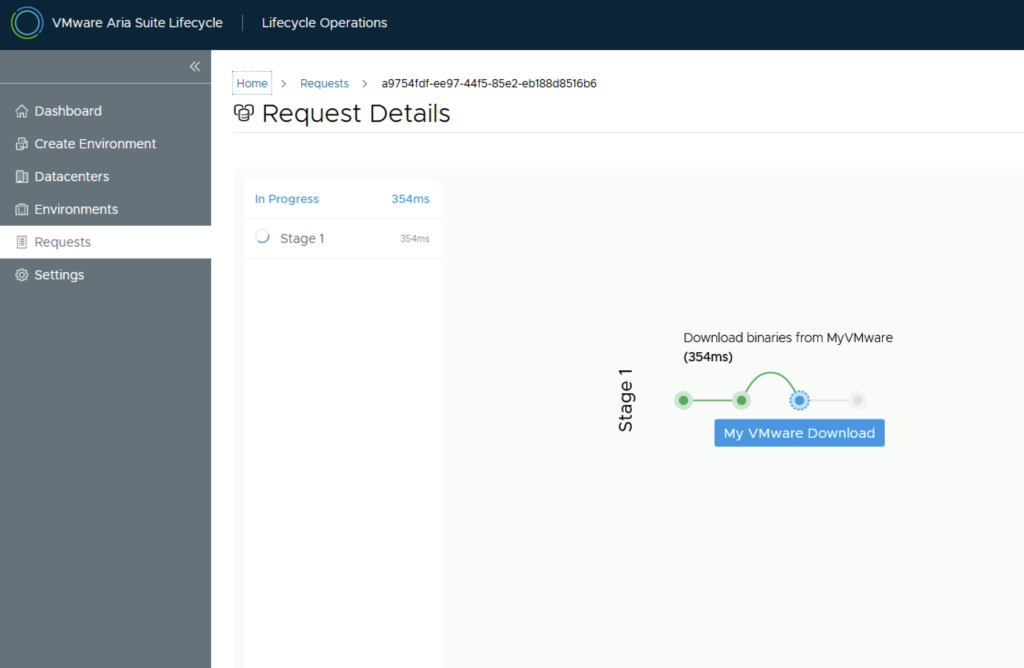
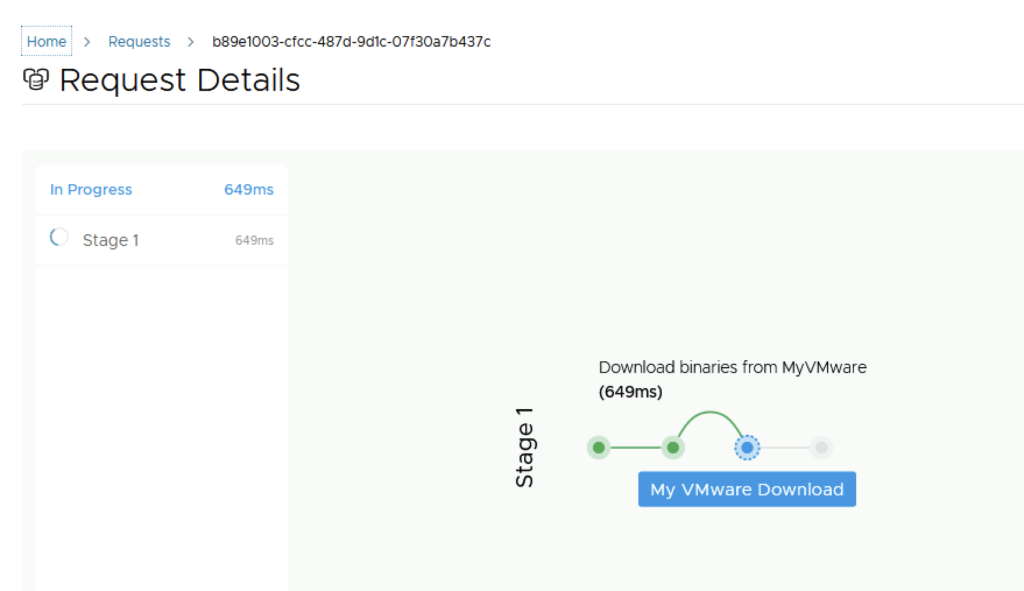
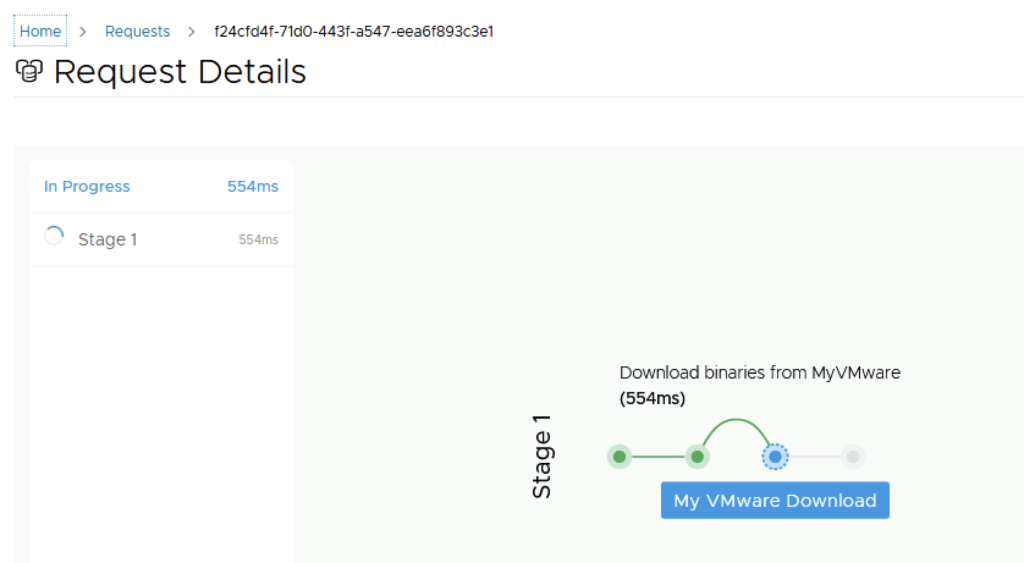
This will create a request and start downloading the package. To view the progress we can click on the Click Here hyperlink

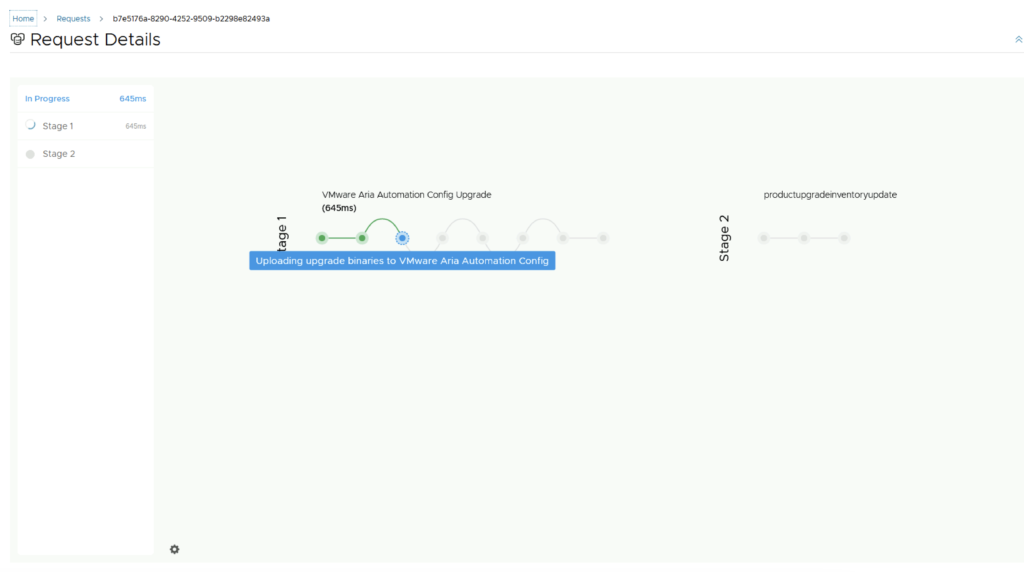
Click on the in Progress button to view the details

We now have to wait for the download to complete

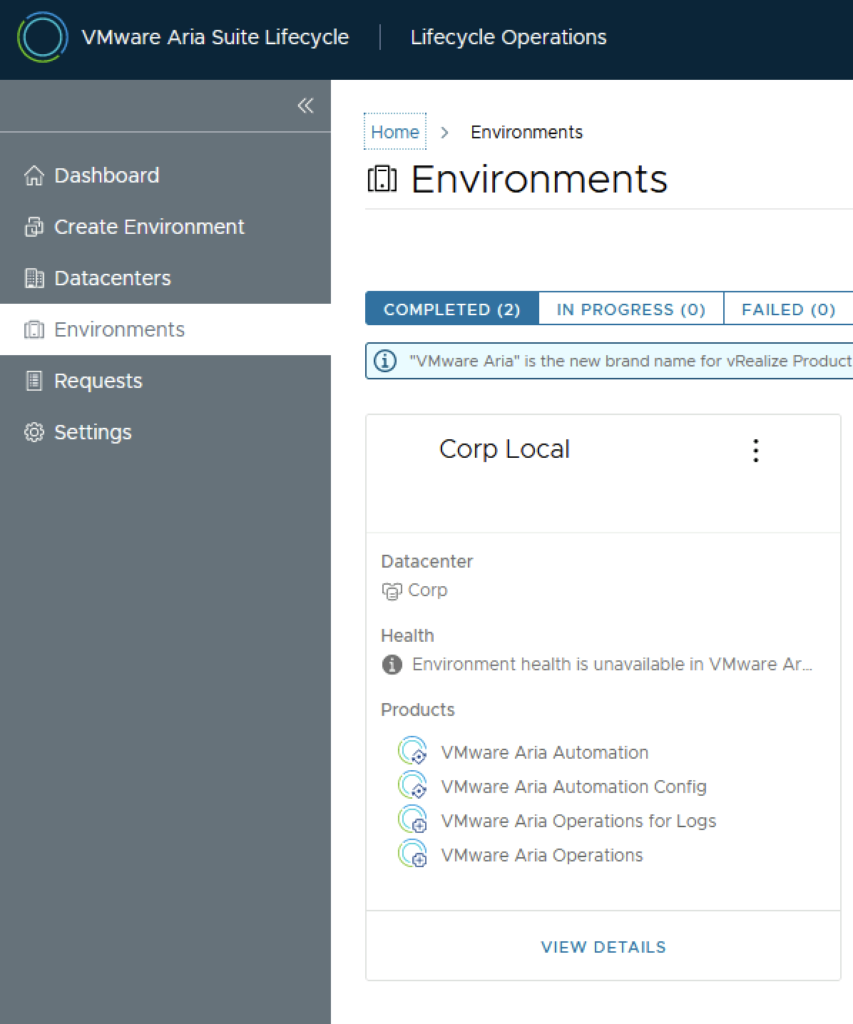
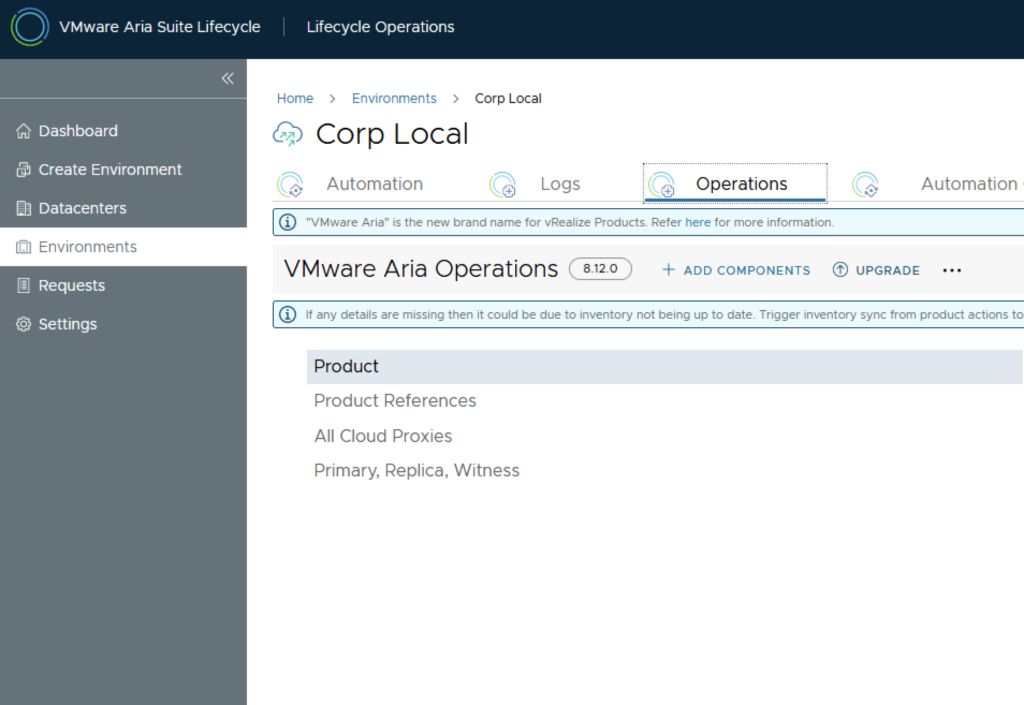
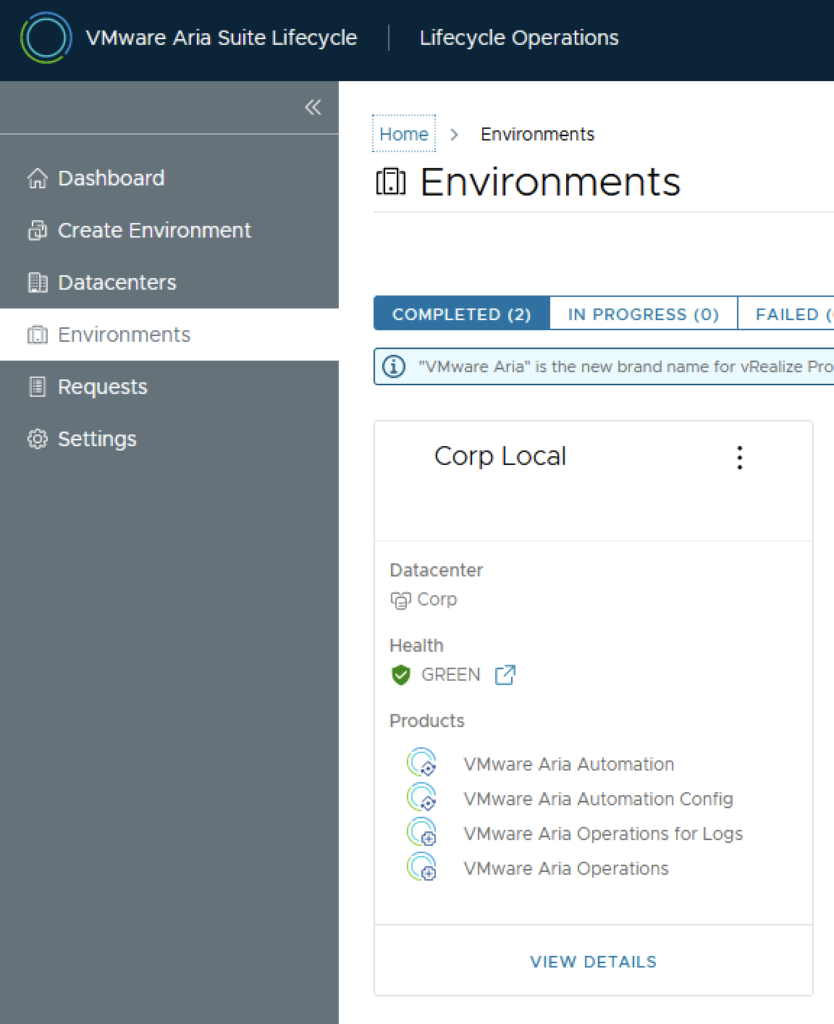
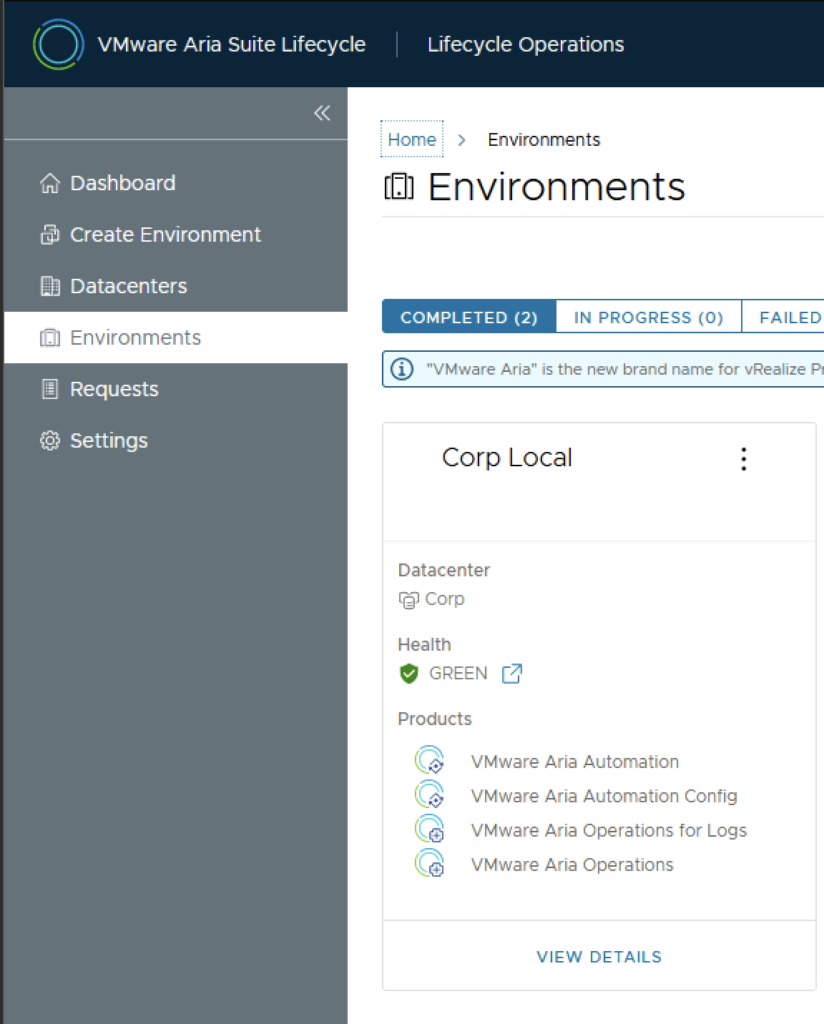
After the download is complete we can go to Environments -> View Details on the environment that includes Aria Operations

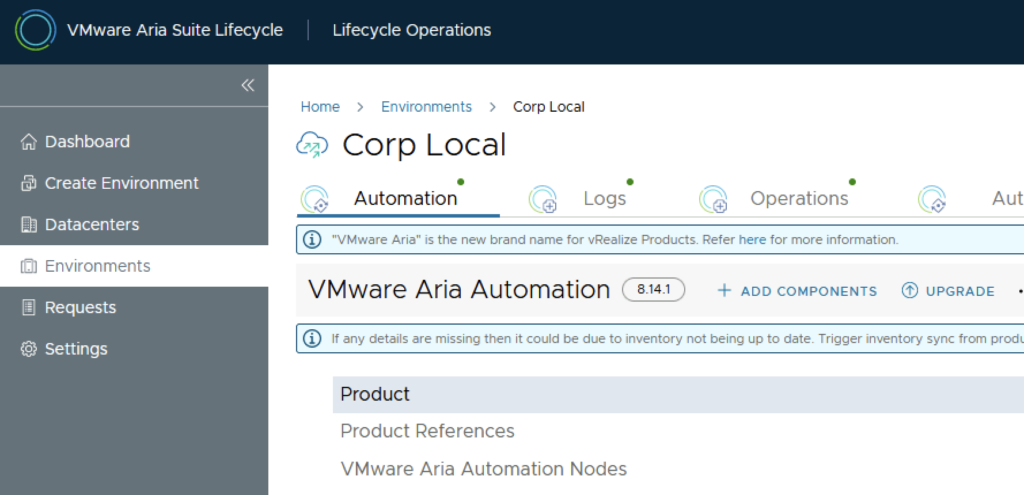
Click on Upgrade

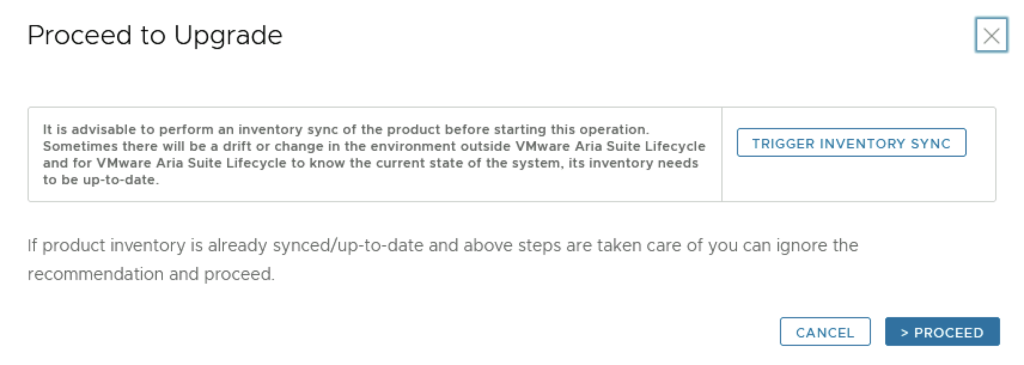
An Inventory sync is recommended if the environment has changed since LCM performed the last sync. We trigger the sync from the UI or click on Proceed to continue

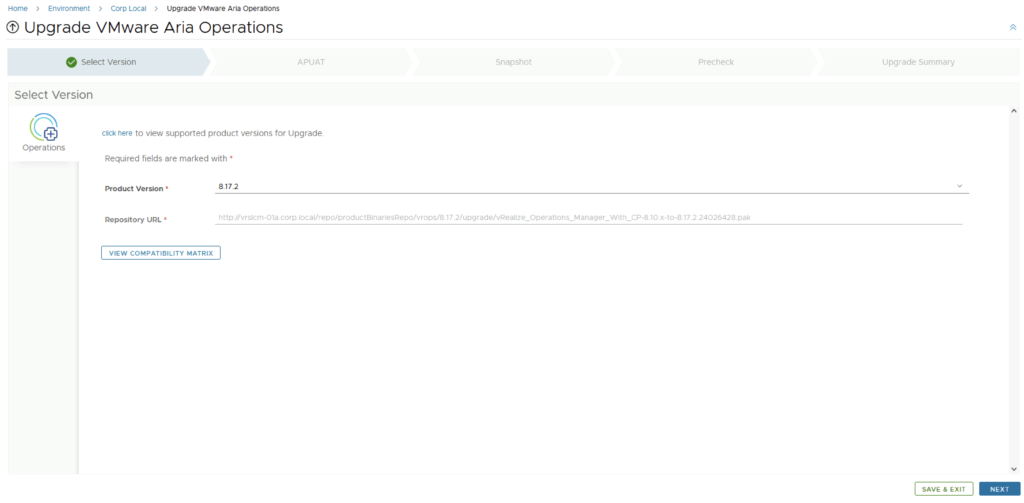
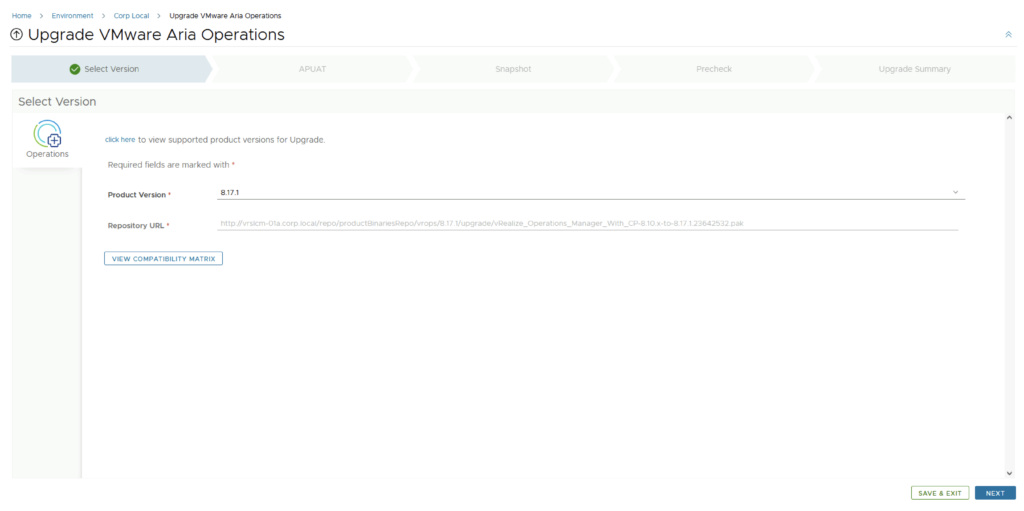
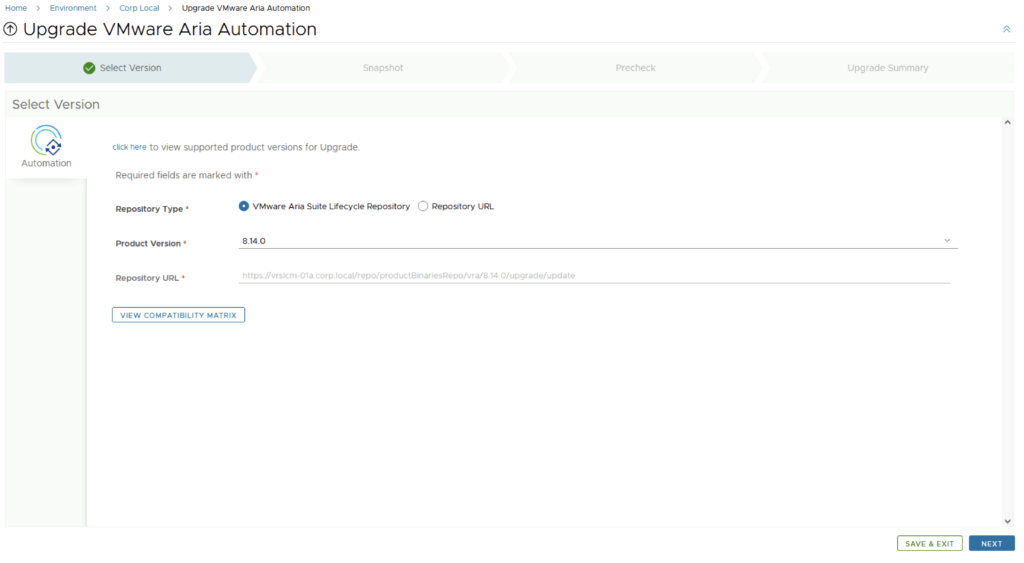
Select product Version 8.17.2 and click Next. We can also review the compatibility matrix to make sure the environment is compatible.

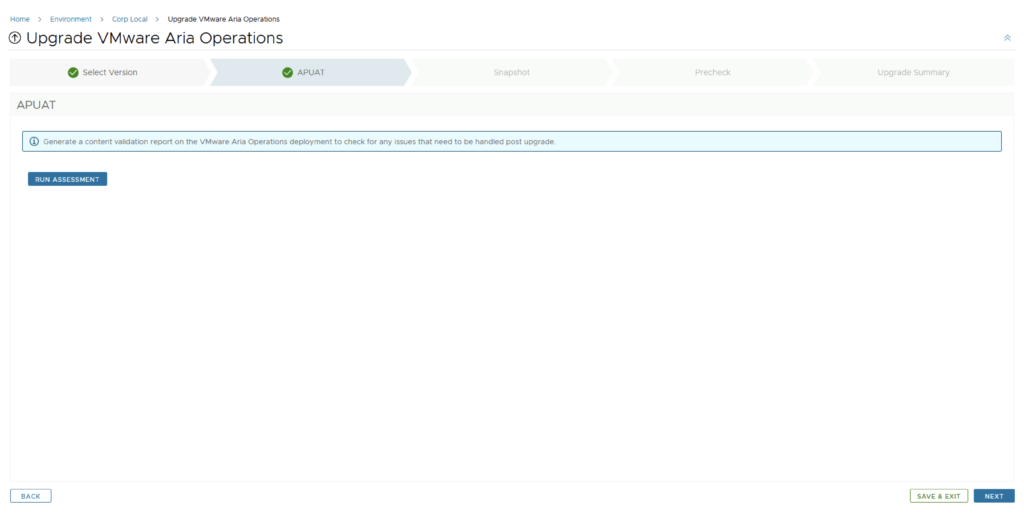
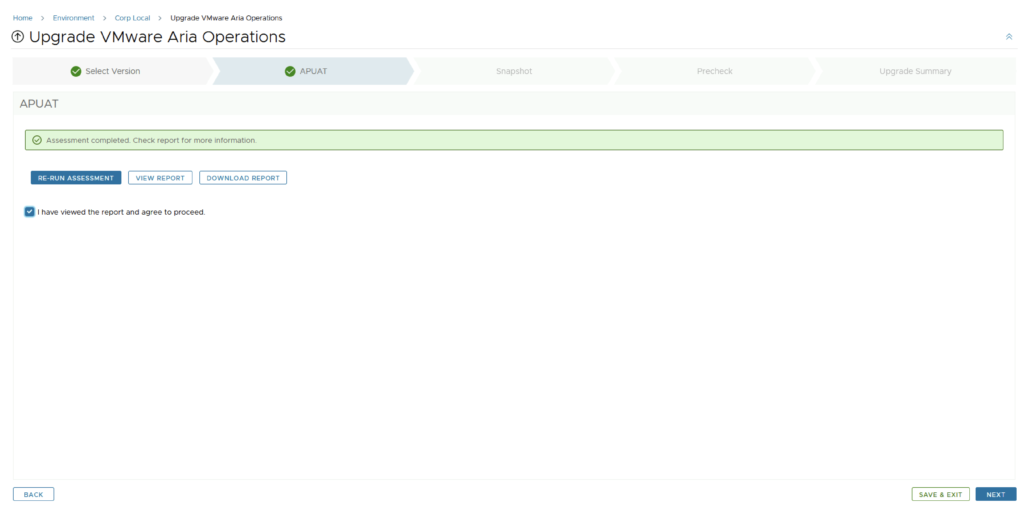
Run the Assessment tool to make sure the currently used dashboards, reports, metrics etc are still compatible with the new version

Once the report has finished running we can either Download or view the report. Once everything has been reviewed, we can click on the I have viewed the report and agree to proceed box and click next to proceed to the next step.

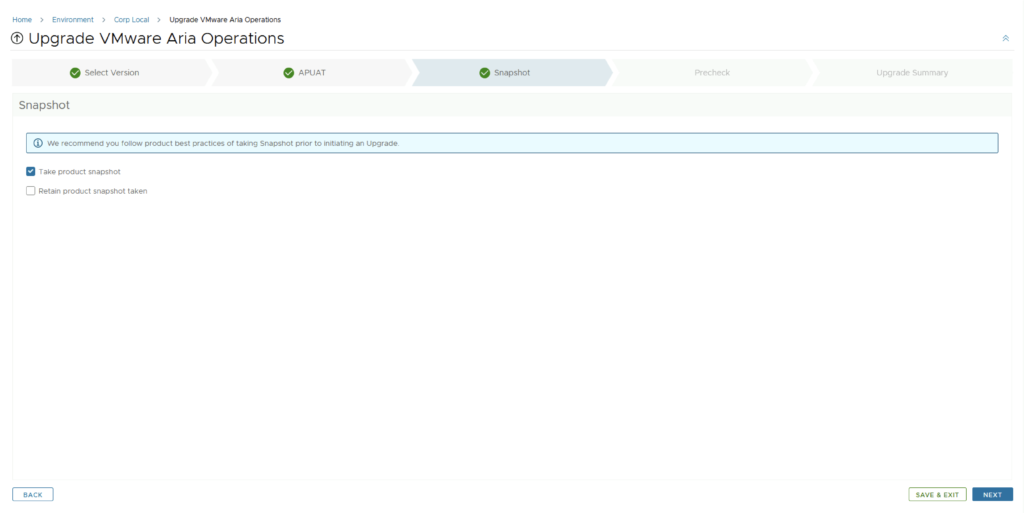
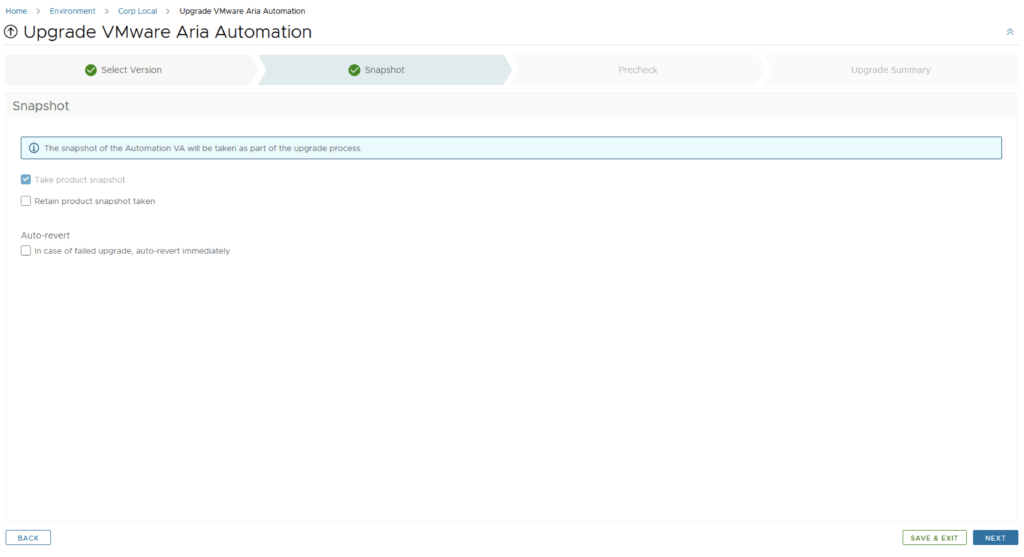
A new feature that was added was the capability to automatically create a snapshot prior to the upgrade and remove it after the upgrade. On this screen we also have the ability to chose if we want to keep the snapshots post upgrade for validation testing for example. Click next

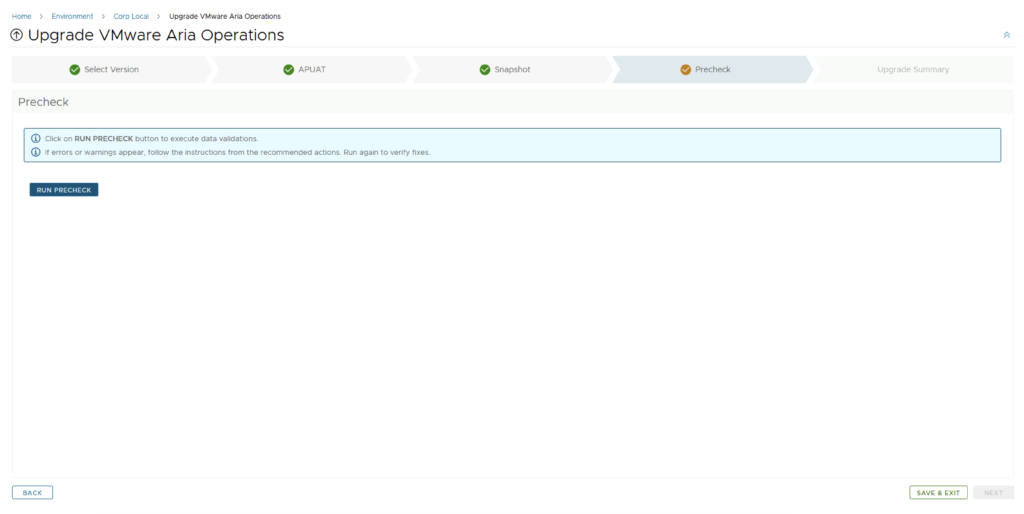
Run the Precheck to make sure there are no errors or issues.

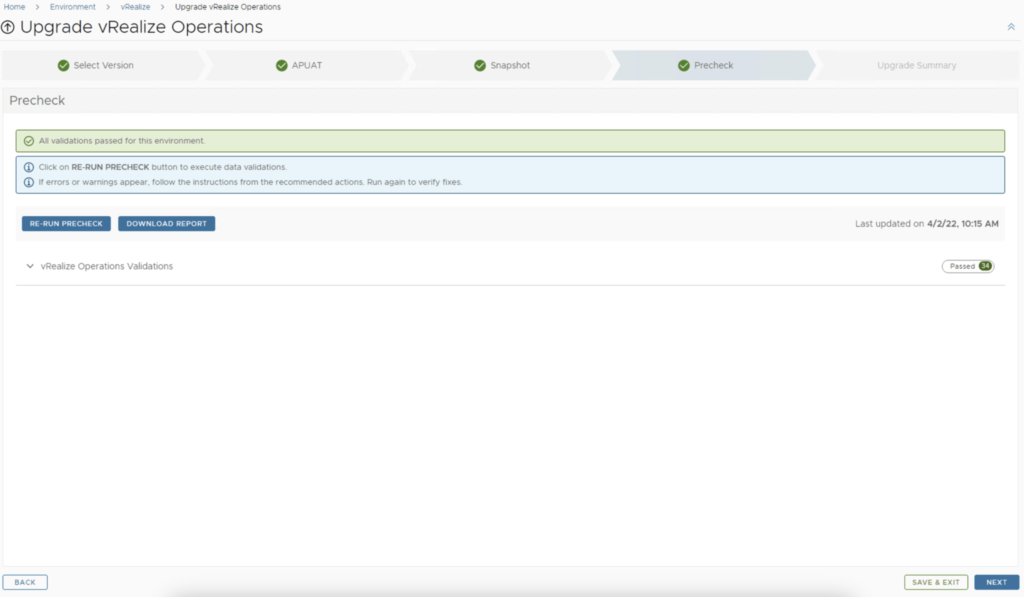
Once the check is complete we can review the checks that were performed and we can continue by clicking Next.

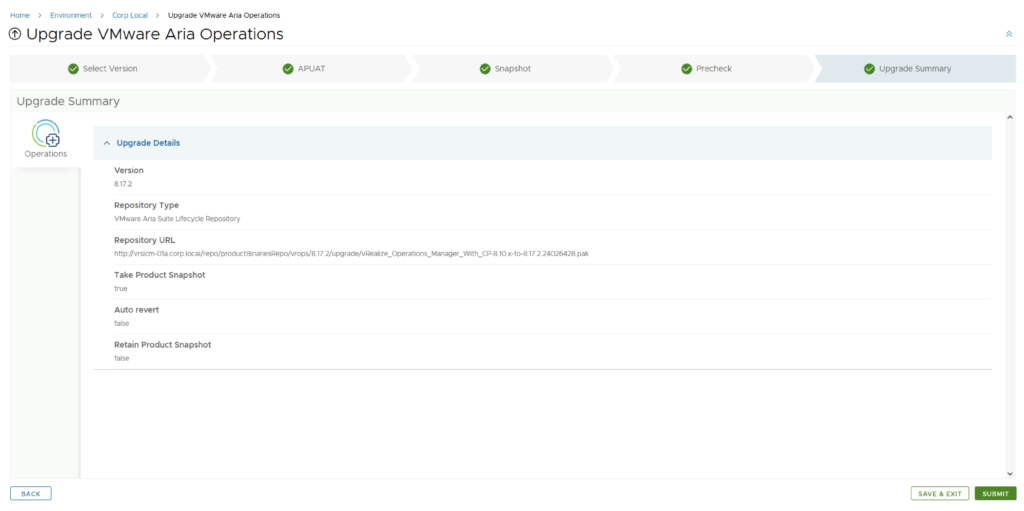
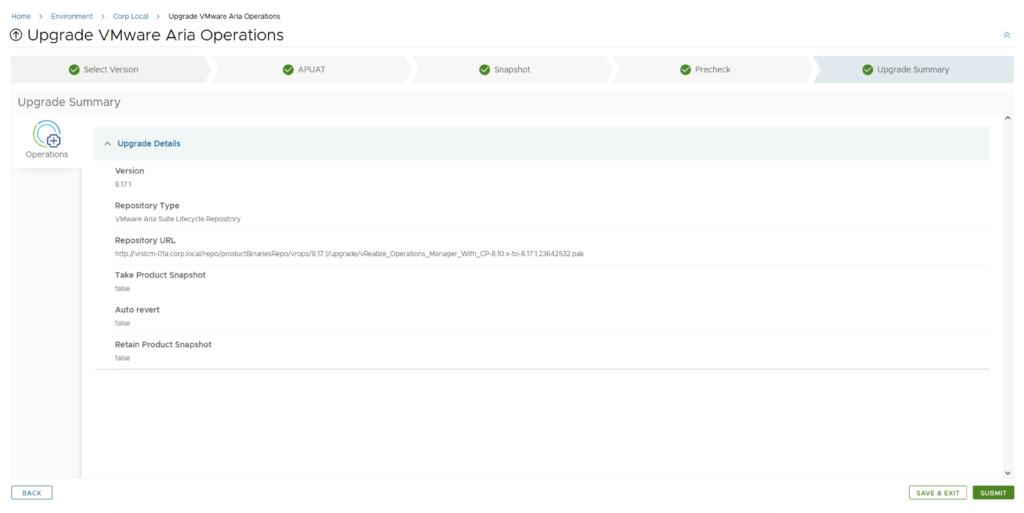
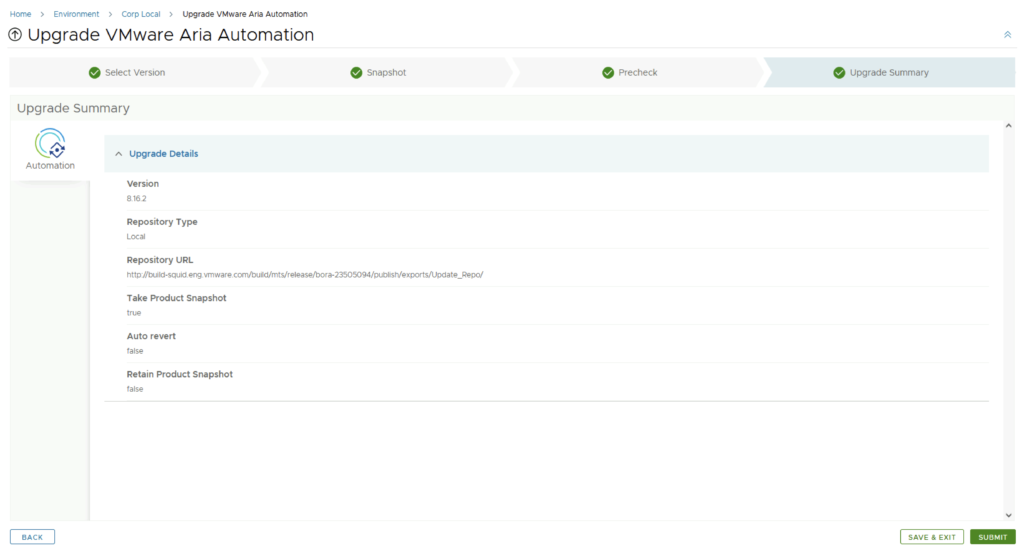
Review the upgrade details and click on Next and the Submit. We are taken to the progress screen where we can follow the progress.

The system will get rebooted and once its back up, we will be on 8.17.2

Since we are doing a major upgrade i strongly recommend to clean the cache before using the new Aria Operations version.

Aria Suite Lifecycle Product Support Pack (PSPACK) upgrade – manual version

In this guide i will go over the manual steps of getting an existing 8.x Aria Suite Lifecycle appliance to support the latest product releases available. Here is a great blog that goes in to the details about what the Product Support Pack is https://blogs.vmware.com/management/2019/01/vrslcm-pspak.html. Typically the newer Product Support Pack is included part of the upgrade for Aria Suite Lifecycle, however sometimes there are product releases in between releases where product support packs come in handy. As of 8.16.0 Product Support Pack 4 we can no longer automatically download the Product Support Pack files. The release notes can be found here.

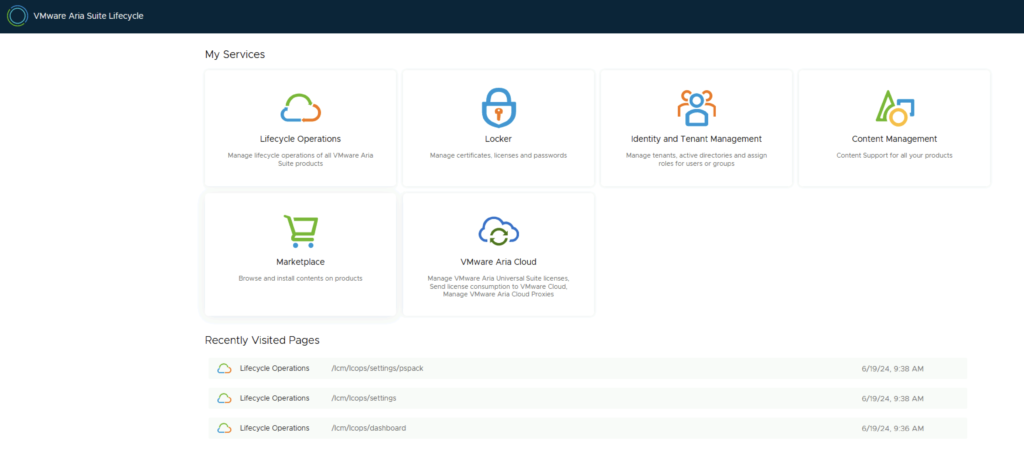
The first step is to log in to Aria Suite Lifecycle under the Lifecycle Operations section

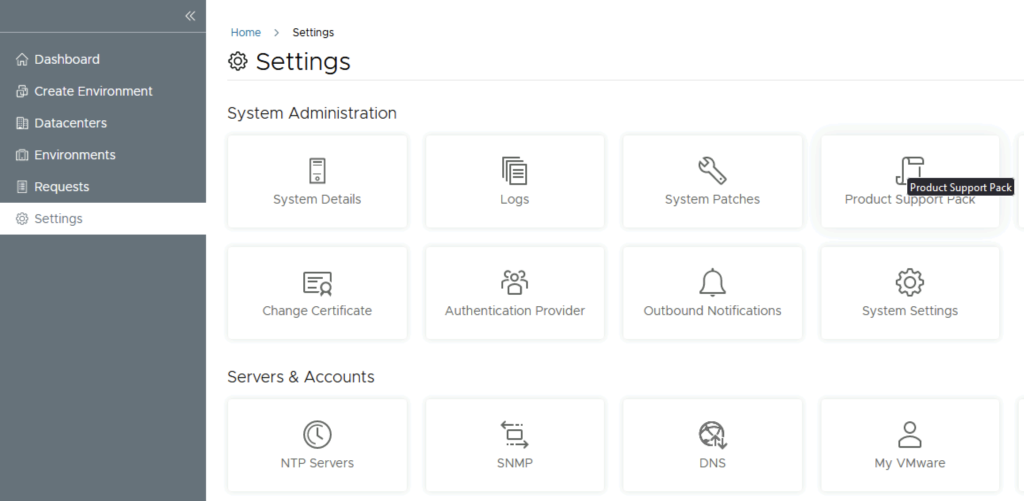
Go to settings -> Product Support Pack

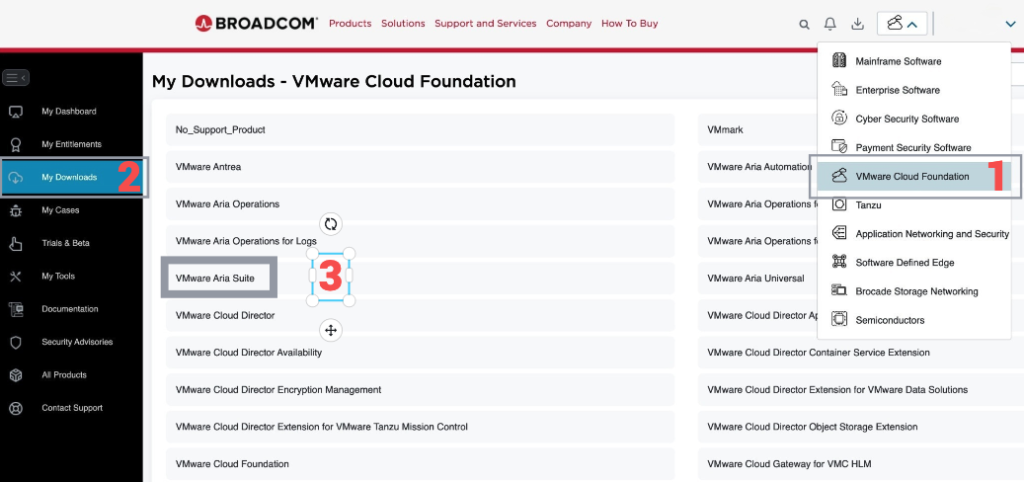
Make sure you download the patch from the support portal first from https://support.broadcom.com

The direct link is here.

We can see that the are no Product Support Packs available

We can click on upload and import the new downloaded Product Support Pack

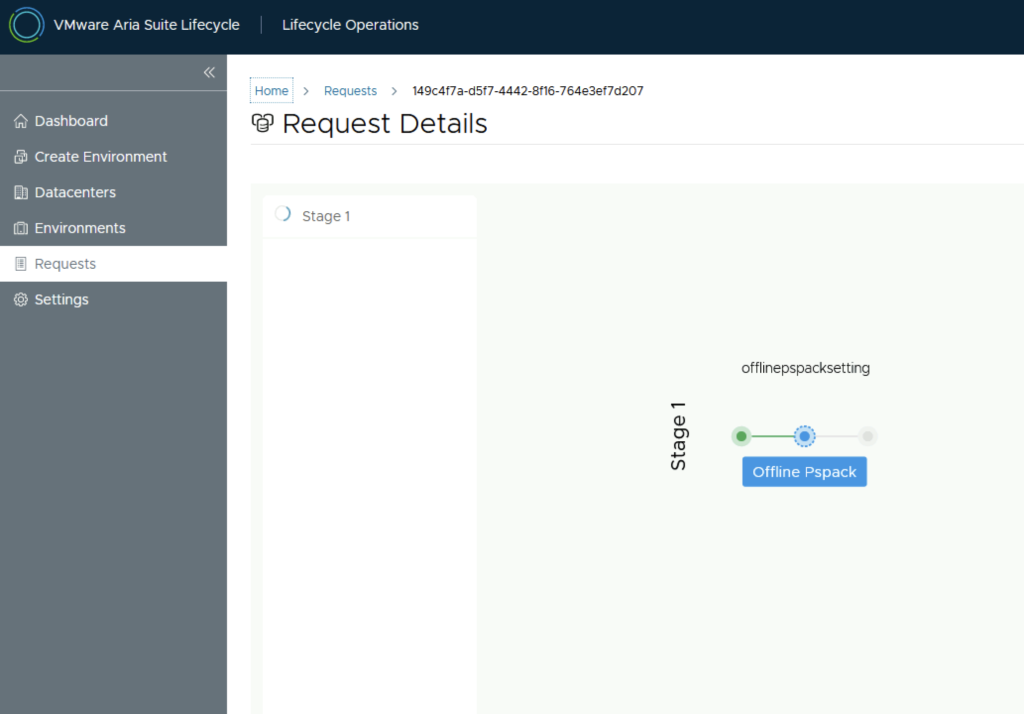
We can check on the status of the import by clicking on Click Here in the request window

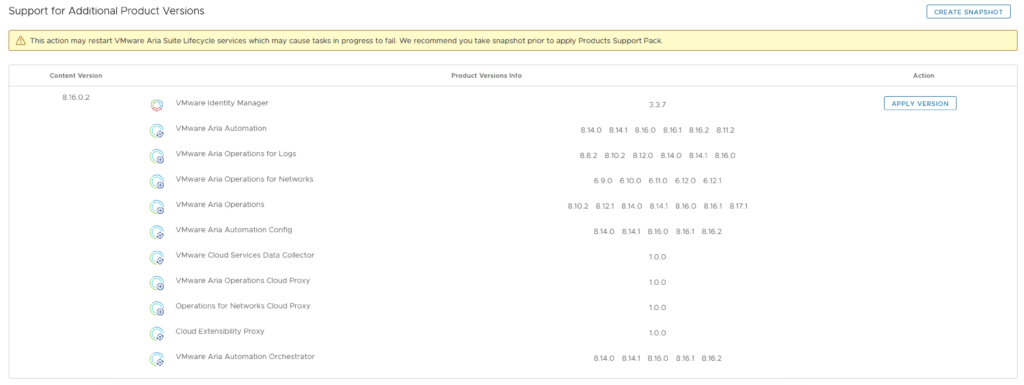
Once completed we can see that PSPACK 8.16.0.4 is available. Based on what we can see in the details the new support pack adds support for a few additional product versions.

Click on Apply Version

Verify that a snapshot or a backup exists and click Submit

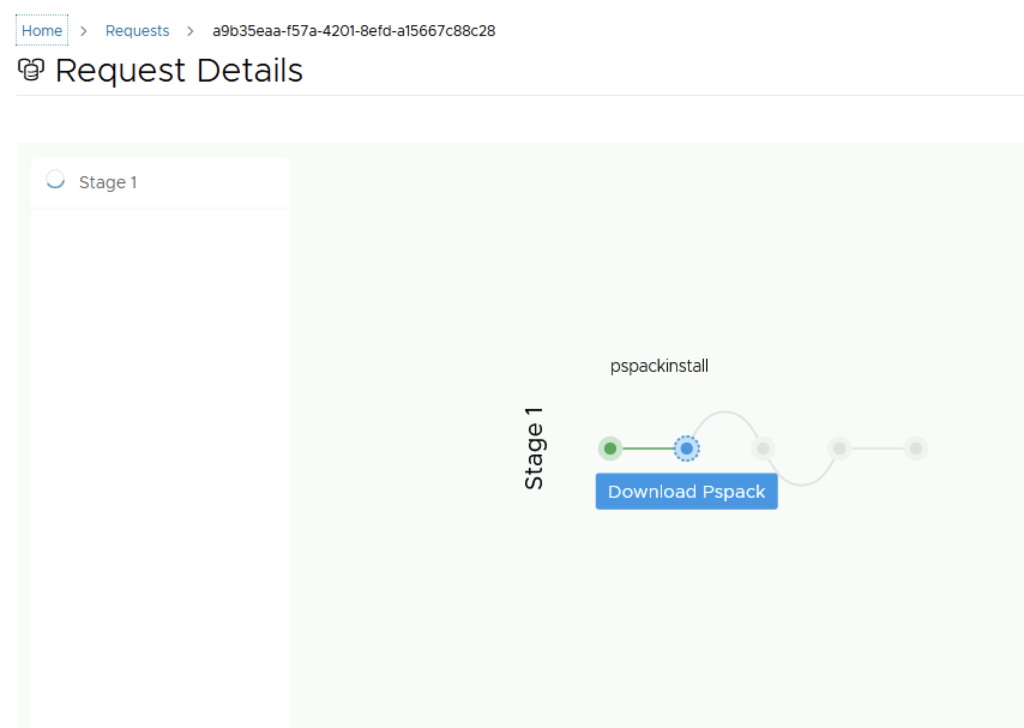
We can view the progress by clicking on the Click Here link after submitting the request

Once the process is complete the system will most likely reboot. To check the status we can go back to settings -> Product Support Pack. As we can see we are now at the updated patch level

If you get the below error clear the browser cache and try again

Upgrading Aria Operations to 8.17.1 via Aria Suite Lifecycle

In this post i will go over upgrading my 8.x Aria Operations appliance to 8.17.1 using Aria Suite Lifecycle. As a pre requirement we do need to have Aria Suite Lifecycle upgraded to 8.16. Instructions can be found here. The upgrade does not include the latest Product Support Pack. We can apply the latest Product Support Pack following the instructions here.

To get started we can go to Aria Suite Lifecycle -> Lifecycle Operations -> Settings -> Binary Mapping. (If you haven’t added your My VMware credentials you will need to do that first by going to Aria Suite Lifecycle -> Lifecycle Operations -> Settings -> My VMware)

Click on Add Binaries under Product Binaries

Select My VMware and click on Discover

We can see a list of binaries that have been discovered. Make sure we select the upgrade package not the install package. We can select what we need and click on Add

This will create a request and start downloading the package. To view the progress we can click on the Click Here hyperlink

Click on the in Progress button to view the details

We now have to wait for the download to complete

After the download is complete we can go to Environments -> View Details on the environment that includes Aria Operations

Click on Upgrade

An Inventory sync is recommended if the environment has changed since LCM performed the last sync. We trigger the sync from the UI or click on Proceed to continue

Select product Version 8.17.1 and click Next. We can also review the compatibility matrix to make sure the environment is compatible.

Run the Assessment tool to make sure the currently used dashboards, reports, metrics etc are still compatible with the new version

Once the report has finished running we can either Download or view the report. Once everything has been reviewed, we can click on the I have viewed the report and agree to proceed box and click next to proceed to the next step.

A new feature that was added was the capability to automatically create a snapshot prior to the upgrade and remove it after the upgrade. On this screen we also have the ability to chose if we want to keep the snapshots post upgrade for validation testing for example. Click next

Run the Precheck to make sure there are no errors or issues.

Once the check is complete we can review the checks that were performed and we can continue by clicking Next.

Review the upgrade details and click on Next and the Submit. We are taken to the progress screen where we can follow the progress.

The system will get rebooted and once its back up, we will be on 8.17.1

Since we are doing a major upgrade i strongly recommend to clean the cache before using the new Aria Operations version.

Aria Suite Lifecycle Product Support Pack (PSPACK) upgrade

In this guide i will go over the steps of getting an existing 8.x Aria Suite Lifecycle appliance to support the latest product releases available. Here is a great blog that goes in to the details about what the Product Support Pack is https://blogs.vmware.com/management/2019/01/vrslcm-pspak.html. Typically the newer Product Support Pack is included part of the upgrade for Aria Suite Lifecycle, however sometimes there are product releases in between releases where product support packs come in handy.

The first step is to log in to Aria Suite Lifecycle under the Lifecycle Operations section

Go to settings -> Product Support Pack

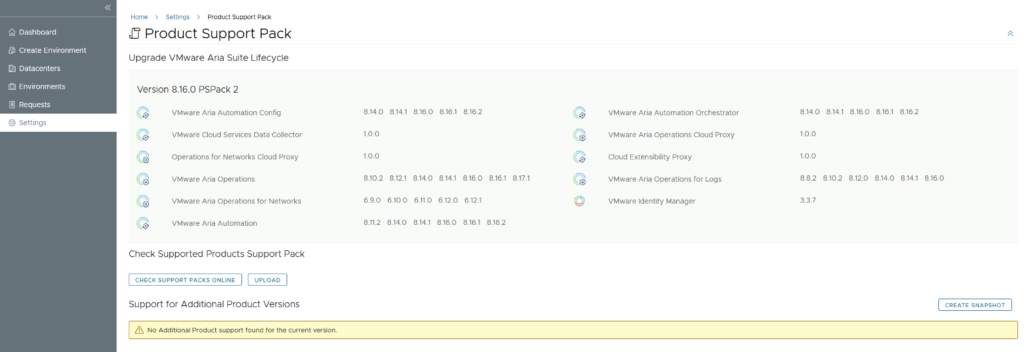
We can see that i recently upgraded to 8.16.0 however a new update is available 8.16.0.2. Based on what we can see in the details the new support pack adds support for a few additional product versions. If an update is not available click on the Check Support Packs Online button and refresh the screen within a few minutes

Click on Apply Version

Verify that a snapshot or a backup exists and click Submit

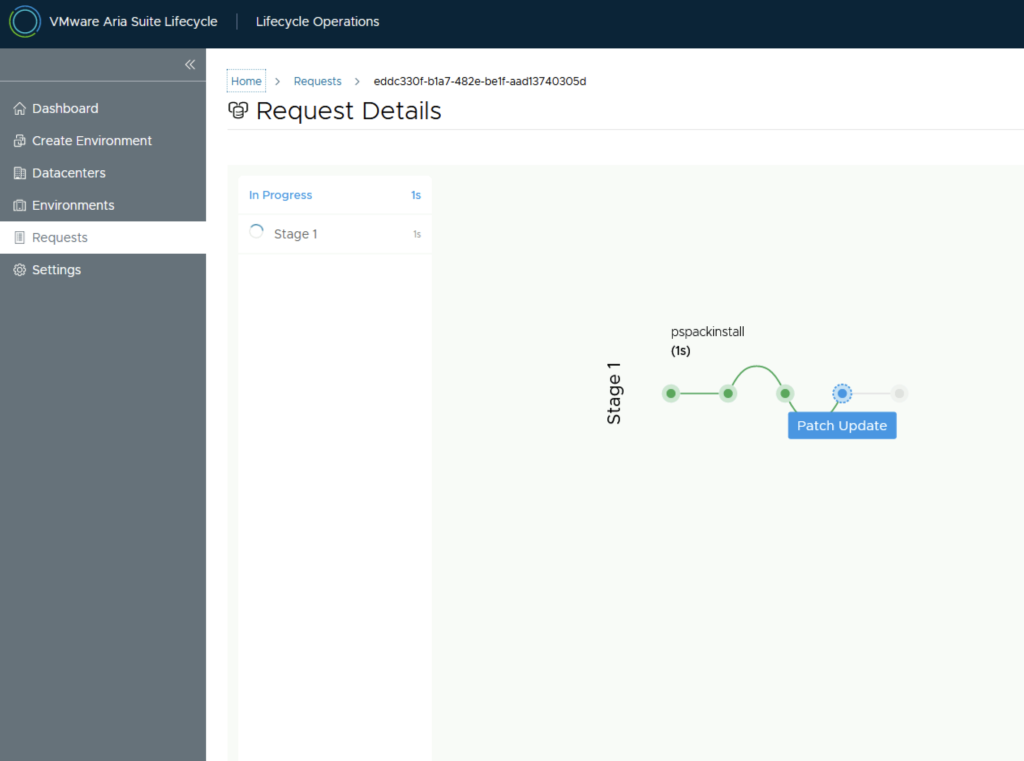
We can view the progress by clicking on the Click Here link after submitting the request

Once the process is complete the system will most likely reboot. To check the status we can go back to settings -> Product Support Pack. As we can see we are now at the updated patch level

If you get the below error clear the browser cache and try again

Creating a Custom Role in vCenter for Aria Automation: A Step-by-Step Guide

Introduction
Automation in VMware environments enhances efficiency, reduces human error, and improves the consistency of operations. Aria Automation (formerly vRealize Automation) is a powerful tool designed to automate processes in your VMware infrastructure. However, to fully leverage its capabilities, Aria Automation requires specific permissions in vCenter. This blog post will guide you through creating a custom role in vCenter with all necessary permissions for the Aria Automation service account.

Prerequisites

  • Access to vCenter with administrative privileges.
  • VMware PowerCLI installed on your computer.
  • Familiarity with VMware environments and basic scripting.

Step 1: Establish a Connection to Your vCenter Server
Begin by opening VMware PowerCLI and connecting to your vCenter server. Use the following script, substituting your actual credentials and server details:

$vcServer = 'vcenter.yourdomain.com'
$username = '[email protected]'
$password = 'yourPassword'
Connect-VIServer -Server $vcServer -User $username -Password $password

Step 2: Define the Role and Permissions
Next, specify the role’s name and the permissions necessary for Aria Automation. These permissions will allow Aria Automation to manage virtual machines and other resources effectively:

$roleName = "Aria Automation Custom Role"
$permissions = @(
    "System.Anonymous",
    "System.View",
    "System.Read",
    "Global.ManageCustomFields",
    "Global.SetCustomField",
    "Folder.Create",
    "Folder.Delete",
    "Datastore.Browse",
    "Datastore.FileManagement",
    "Datastore.AllocateSpace",
    "Network.Assign",
    "VirtualMachine.Inventory.Create",
    "VirtualMachine.Inventory.CreateFromExisting",
    "VirtualMachine.Inventory.Delete",
    "VirtualMachine.Inventory.Move",
    "VirtualMachine.Interact.PowerOn",
    "VirtualMachine.Interact.PowerOff",
    "VirtualMachine.Interact.Suspend",
    "VirtualMachine.Interact.Reset",
    "VirtualMachine.Interact.ConsoleInteract",
    "VirtualMachine.Interact.DeviceConnection",
    "VirtualMachine.Interact.SetCDMedia",
    "VirtualMachine.Interact.ToolsInstall",
    "VirtualMachine.Config.Rename",
    "VirtualMachine.Config.Annotation",
    "VirtualMachine.Config.AddExistingDisk",
    "VirtualMachine.Config.AddNewDisk",
    "VirtualMachine.Config.RemoveDisk",
    "VirtualMachine.Config.CPUCount",
    "VirtualMachine.Config.Memory",
    "VirtualMachine.Config.AddRemoveDevice",
    "VirtualMachine.Config.EditDevice",
    "VirtualMachine.Config.Settings",
    "VirtualMachine.Config.Resource",
    "VirtualMachine.Config.AdvancedConfig",
    "VirtualMachine.Config.SwapPlacement",
    "VirtualMachine.Config.DiskExtend",
    "VirtualMachine.Config.ChangeTracking",
    "VirtualMachine.State.CreateSnapshot",
    "VirtualMachine.State.RevertToSnapshot",
    "VirtualMachine.State.RemoveSnapshot",
    "VirtualMachine.Provisioning.Customize",
    "VirtualMachine.Provisioning.Clone",
    "VirtualMachine.Provisioning.DeployTemplate",
    "VirtualMachine.Provisioning.CloneTemplate",
    "VirtualMachine.Provisioning.ReadCustSpecs",
    "Resource.AssignVMToPool",
    "Resource.HotMigrate",
    "Resource.ColdMigrate",
    "Authorization.ModifyPermissions",
    "VApp.ApplicationConfig",
    "VApp.Import",
    "StoragePod.Config",
    "InventoryService.Tagging.AttachTag",
    "InventoryService.Tagging.ModifyUsedByForCategory",
    "ContentLibrary.EvictLibraryItem",
    "InventoryService.Tagging.DeleteCategory",
    "ContentLibrary.TypeIntrospection",
    "ContentLibrary.GetConfiguration",
    "InventoryService.Tagging.EditTag",
    "ContentLibrary.UpdateSession",
    "ContentLibrary.UpdateLibrary",
    "InventoryService.Tagging.ModifyUsedByForTag",
    "ContentLibrary.SyncLibraryItem",
    "ContentLibrary.UpdateSubscribedLibrary",
    "ContentLibrary.UpdateLibraryItem",
    "ContentLibrary.DeleteLibraryItem",
    "InventoryService.Tagging.CreateTag",
    "InventoryService.Tagging.DeleteTag",
    "ContentLibrary.SyncLibrary",
    "ContentLibrary.UpdateConfiguration",
    "ContentLibrary.DownloadSession",
    "ContentLibrary.DeleteLocalLibrary",
    "InventoryService.Tagging.ObjectAttachable",
    "ContentLibrary.EvictSubscribedLibrary",
    "ContentLibrary.DeleteSubscribedLibrary",
    "ContentLibrary.CreateSubscribedLibrary",
    "ContentLibrary.UpdateLocalLibrary",
    "InventoryService.Tagging.EditCategory",
    "InventoryService.Tagging.CreateCategory",
    "ContentLibrary.ProbeSubscription",
    "ContentLibrary.ReadStorage",
    "ContentLibrary.AddLibraryItem",
    "ContentLibrary.CreateLocalLibrary"
)

Step 3: Create the Custom Role
Create the role using the New-VIRole cmdlet. This step involves applying the previously defined permissions to the new role:

New-VIRole -Name $roleName -Privilege (Get-VIPrivilege -Id $permissions)
Write-Output "Role '$roleName' created successfully with necessary permissions."

Step 4: Verify and Disconnect
After creating the role, it’s good practice to verify that the role has been created with the correct permissions. Then, ensure you disconnect from your vCenter server securely:

Disconnect-VIServer -Server $vcServer -Confirm:$false

Step 5: Put it all together

$vcServer = 'vcenter.yourdomain.com'
$username = '[email protected]'
$password = 'yourPassword'
Connect-VIServer -Server $vcServer -User $username -Password $password
$roleName = "Aria Automation Custom Role"
$permissions = @(
    "System.Anonymous",
    "System.View",
    "System.Read",
    "Global.ManageCustomFields",
    "Global.SetCustomField",
    "Folder.Create",
    "Folder.Delete",
    "Datastore.Browse",
    "Datastore.FileManagement",
    "Datastore.AllocateSpace",
    "Network.Assign",
    "VirtualMachine.Inventory.Create",
    "VirtualMachine.Inventory.CreateFromExisting",
    "VirtualMachine.Inventory.Delete",
    "VirtualMachine.Inventory.Move",
    "VirtualMachine.Interact.PowerOn",
    "VirtualMachine.Interact.PowerOff",
    "VirtualMachine.Interact.Suspend",
    "VirtualMachine.Interact.Reset",
    "VirtualMachine.Interact.ConsoleInteract",
    "VirtualMachine.Interact.DeviceConnection",
    "VirtualMachine.Interact.SetCDMedia",
    "VirtualMachine.Interact.ToolsInstall",
    "VirtualMachine.Config.Rename",
    "VirtualMachine.Config.Annotation",
    "VirtualMachine.Config.AddExistingDisk",
    "VirtualMachine.Config.AddNewDisk",
    "VirtualMachine.Config.RemoveDisk",
    "VirtualMachine.Config.CPUCount",
    "VirtualMachine.Config.Memory",
    "VirtualMachine.Config.AddRemoveDevice",
    "VirtualMachine.Config.EditDevice",
    "VirtualMachine.Config.Settings",
    "VirtualMachine.Config.Resource",
    "VirtualMachine.Config.AdvancedConfig",
    "VirtualMachine.Config.SwapPlacement",
    "VirtualMachine.Config.DiskExtend",
    "VirtualMachine.Config.ChangeTracking",
    "VirtualMachine.State.CreateSnapshot",
    "VirtualMachine.State.RevertToSnapshot",
    "VirtualMachine.State.RemoveSnapshot",
    "VirtualMachine.Provisioning.Customize",
    "VirtualMachine.Provisioning.Clone",
    "VirtualMachine.Provisioning.DeployTemplate",
    "VirtualMachine.Provisioning.CloneTemplate",
    "VirtualMachine.Provisioning.ReadCustSpecs",
    "Resource.AssignVMToPool",
    "Resource.HotMigrate",
    "Resource.ColdMigrate",
    "Authorization.ModifyPermissions",
    "VApp.ApplicationConfig",
    "VApp.Import",
    "StoragePod.Config",
    "InventoryService.Tagging.AttachTag",
    "InventoryService.Tagging.ModifyUsedByForCategory",
    "ContentLibrary.EvictLibraryItem",
    "InventoryService.Tagging.DeleteCategory",
    "ContentLibrary.TypeIntrospection",
    "ContentLibrary.GetConfiguration",
    "InventoryService.Tagging.EditTag",
    "ContentLibrary.UpdateSession",
    "ContentLibrary.UpdateLibrary",
    "InventoryService.Tagging.ModifyUsedByForTag",
    "ContentLibrary.SyncLibraryItem",
    "ContentLibrary.UpdateSubscribedLibrary",
    "ContentLibrary.UpdateLibraryItem",
    "ContentLibrary.DeleteLibraryItem",
    "InventoryService.Tagging.CreateTag",
    "InventoryService.Tagging.DeleteTag",
    "ContentLibrary.SyncLibrary",
    "ContentLibrary.UpdateConfiguration",
    "ContentLibrary.DownloadSession",
    "ContentLibrary.DeleteLocalLibrary",
    "InventoryService.Tagging.ObjectAttachable",
    "ContentLibrary.EvictSubscribedLibrary",
    "ContentLibrary.DeleteSubscribedLibrary",
    "ContentLibrary.CreateSubscribedLibrary",
    "ContentLibrary.UpdateLocalLibrary",
    "InventoryService.Tagging.EditCategory",
    "InventoryService.Tagging.CreateCategory",
    "ContentLibrary.ProbeSubscription",
    "ContentLibrary.ReadStorage",
    "ContentLibrary.AddLibraryItem",
    "ContentLibrary.CreateLocalLibrary")
New-VIRole -Name $roleName -Privilege (Get-VIPrivilege -Id $permissions)
Write-Output "Role '$roleName' created successfully with necessary permissions."
Disconnect-VIServer -Server $vcServer -Confirm:$false

Conclusion
Creating a custom role for the Aria Automation service account in vCenter is an essential step for securing and optimizing your automation tasks. By assigning precise permissions tailored to your needs, you can maintain a secure and efficient VMware environment.

Happy Automating!

This blog post offers a practical walkthrough for VMware professionals looking to customize and secure their VMware automation tools, ensuring a robust setup for extensive and complex automation tasks.
Upgrading VMware Aria Automation Config to 8.16.2

In this post i will go over upgrading my 8.x SSC appliance to 8.16.2. As a pre requirement we do need to have VMware Aria Suite Lifecycle upgraded to 8.16. Instructions can be found here. The upgrade does not include the latest PSPACK that contains the 8.16.2 Aria Automation Config release. Instructions to get the PSPACK can be found on my other blog post here.

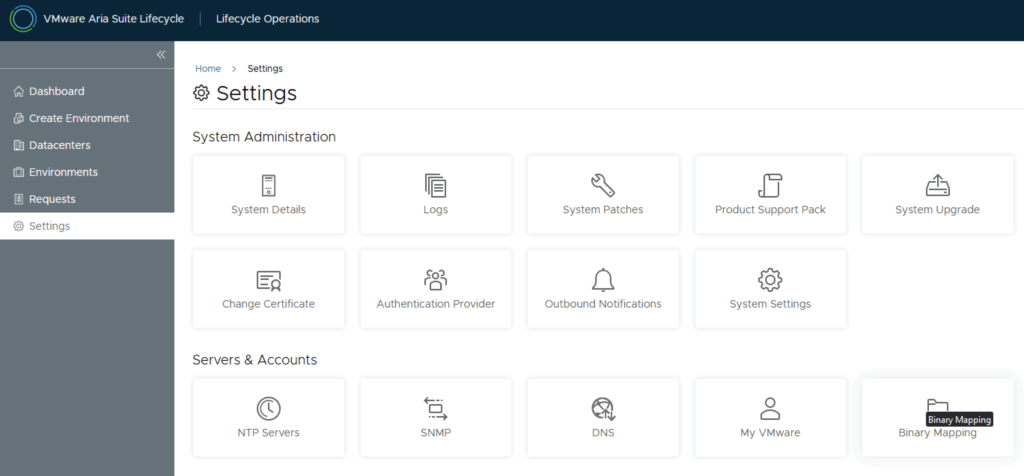
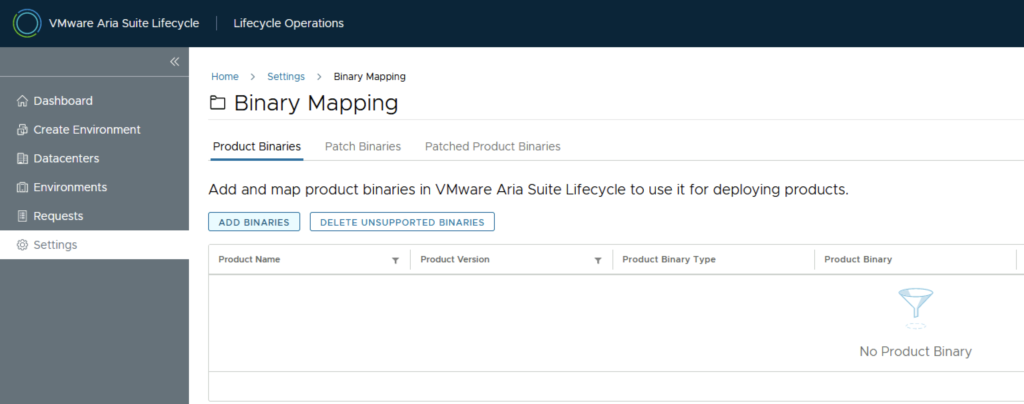
To get started we can go to VMware Aria Suite Lifecycle -> Lifecycle Operations -> Settings -> Binary Mapping. (If you haven’t added your My VMware credentials you will need to do that first by going to VMware Aria Suite Lifecycle -> Lifecycle Operations -> Settings -> My VMware)

Click on Add Binaries under Product Binaries

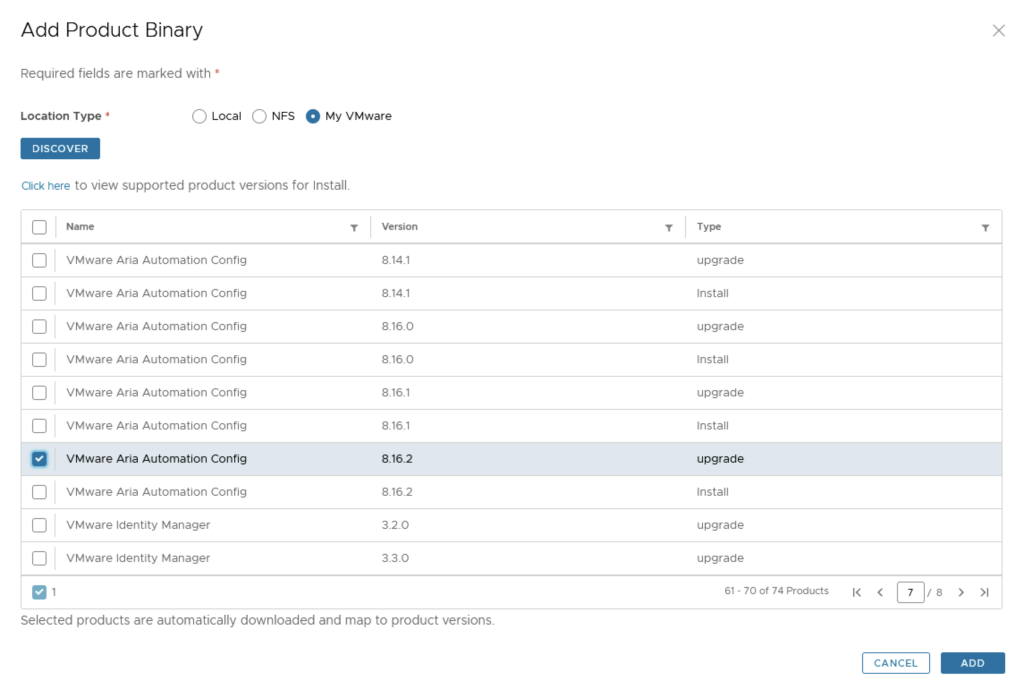
Select My VMware and click on Discover

We can see a list of binaries that have been discovered. We can select what we need and click on Add

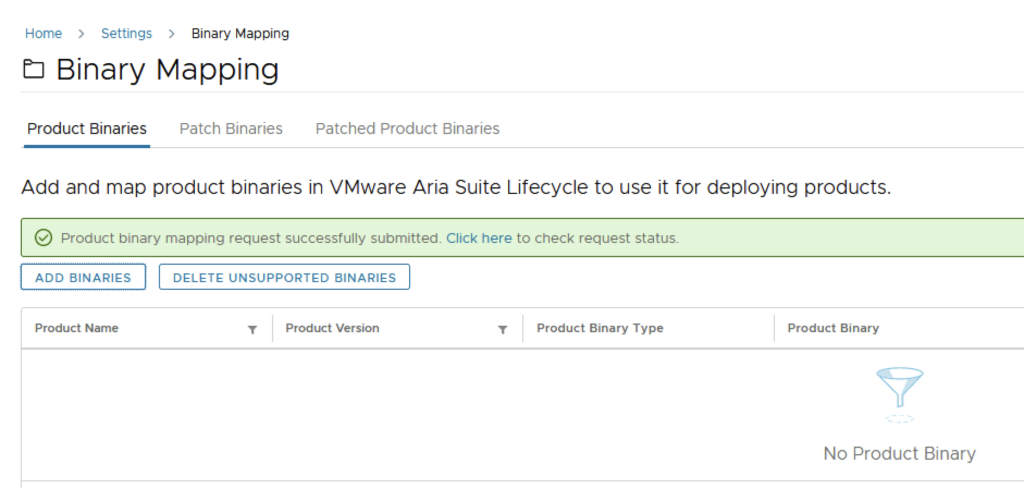
This will create a request and start downloading the package. To view the progress we can click on the Click Here hyperlink

Click on the in Progress button to view the details

We now have to wait for the download to complete

After the download is complete we can go to Environments -> View Details on the environment that includes the VMware Aria Automation Config

Under VMware Automation Config tab Click on Upgrade

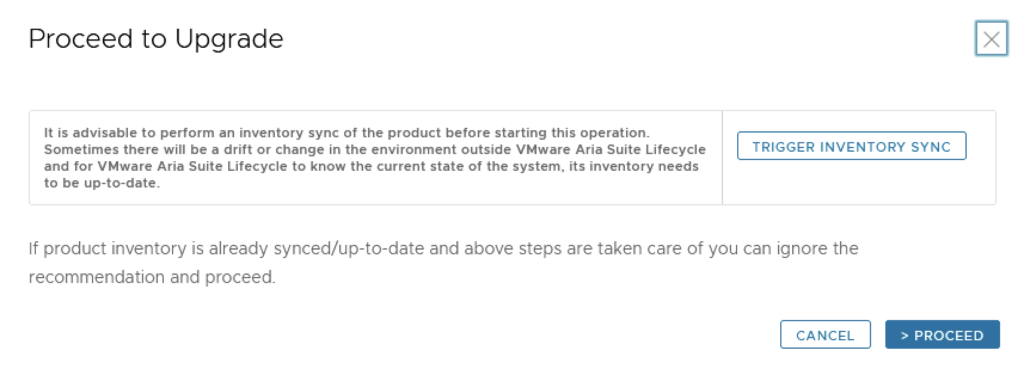
An Inventory sync is recommended if the environment has changed since Aria Suite Lifecycle performed the last sync. We trigger the sync from the UI or click on Proceed to continue

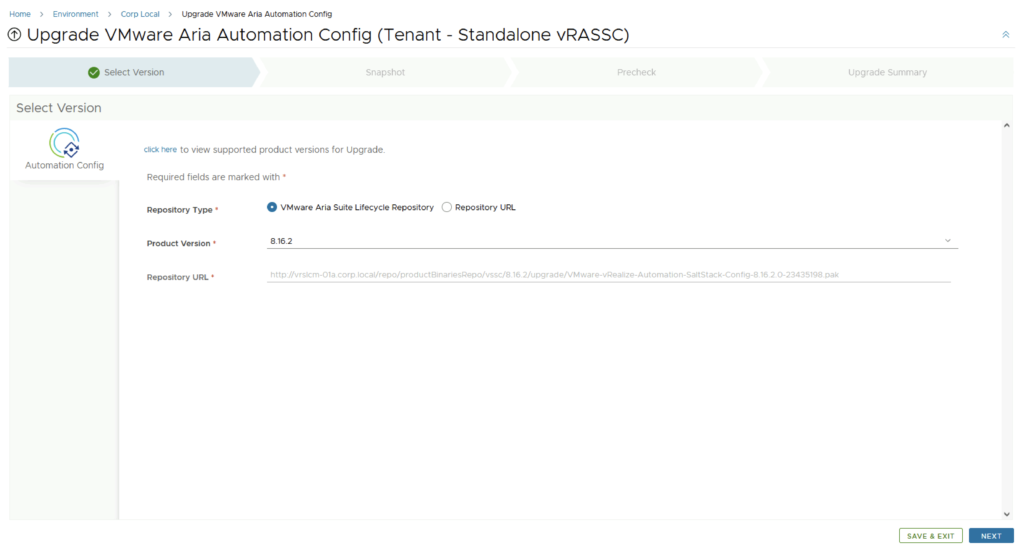
Select product Version 8.16.2 and click Next. We can also review the compatibility matrix to make sure the environment is compatible.

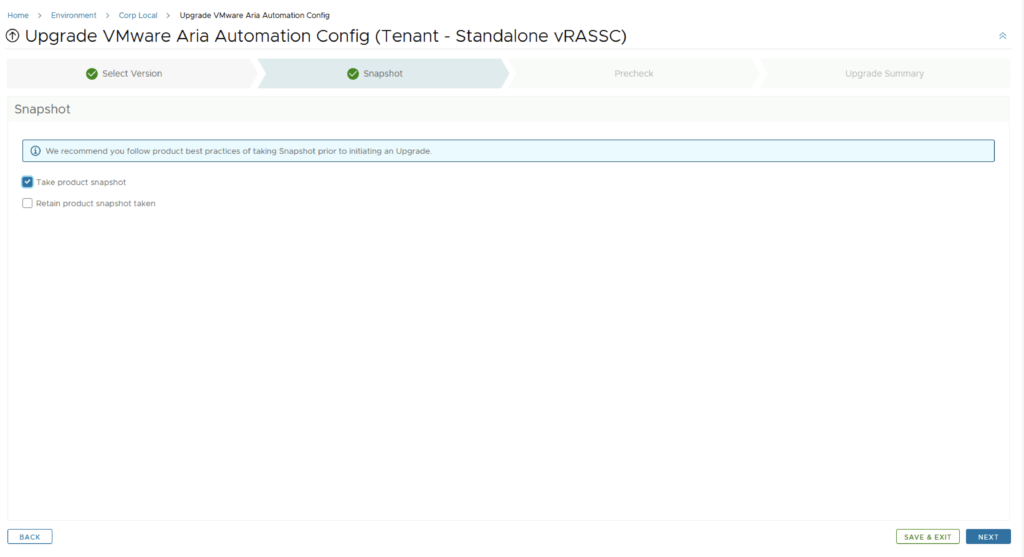
We can automatically create and delete a snapshot part of the upgrade process

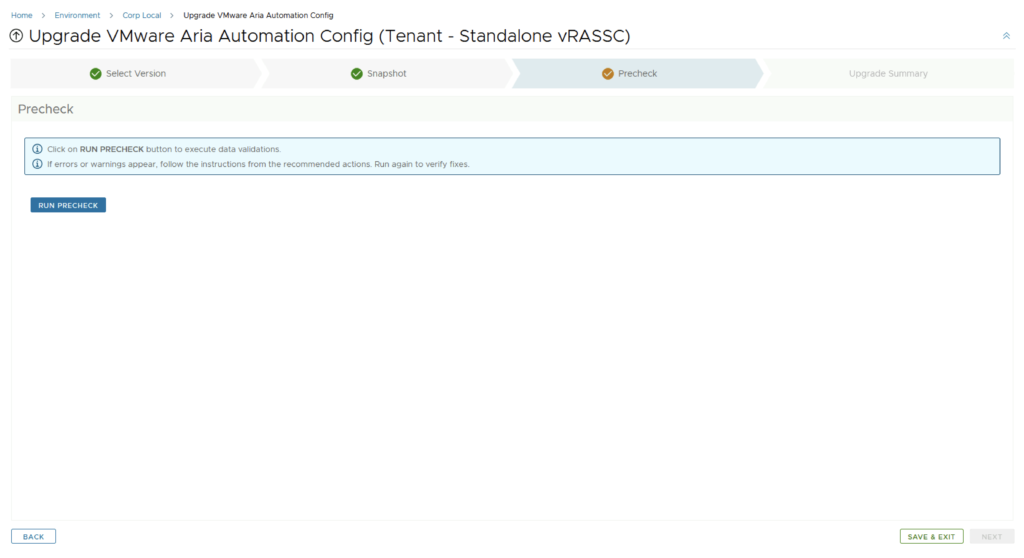
Run the Precheck to make sure there are no errors

Once the check is complete, click on Next. Review the upgrade details and click on Next. We are taken to the progress screen where we can follow the progress.

The system will get rebooted and once its back up we will be on 8.16.2

Here are a few additional blogs that might be useful post upgrade:

Error Code: LCMVSSC10018

SSC 8.8 sseapi_rpc_queue: could not connect to SSE server

SSC 8.8 urllib3 (1.25.11) or chardet (4.0.0) doesn’t match a supported version

Authentication failed: no Authorization header

Upgrading VMware Aria Automation to 8.16.2

In this post i will go over upgrading my 8.x vRA appliance to 8.16.2. As a pre requirement we do need to have VMware Aria Suite Lifecycle upgraded to 8.16. Instructions can be found here. The upgrade does not include the latest PSPACK that contains the 8.16.2 VMware Aria Automation release. Instructions to get the PSPACK can be found on my other blog post here.

To get started we can go to VMware Aria Suite Lifecycle -> Lifecycle Operations -> Settings -> Binary Mapping. (If you haven’t added your My VMware credentials you will need to do that first by going to VMware Aria Suite Lifecycle -> Lifecycle Operations -> Settings -> My VMware)

Click on Add Binaries under Product Binaries

Select My VMware and click on Discover

We can see a list of binaries that have been discovered. We can select what we need and click on Add

This will create a request and start downloading the package. To view the progress we can click on the Click Here hyperlink

Click on the in Progress button to view the details ex:

We now have to wait for the download to complete

After the download is complete we can go to Environments -> View Details on the environment that includes vRA

Click on Upgrade

An Inventory sync is recommended if the environment has changed since LCM performed the last sync. We trigger the sync from the UI or click on Proceed to continue

Select product Version 8.16.2 and click Next. We can also review the compatibility matrix to make sure the environment is compatible.

A new feature that was added was the capability to automatically create a snapshot prior to the upgrade and remove it after the upgrade. On this screen we also have the ability to chose if we want to keep the snapshots post upgrade for validation testing for example. Click next

Run the Precheck to make sure there are no errors

The next screen remind us of hardware requirements for vRA which can be checked here and vIDM which can be checked here. As far as i can tell they haven’t changed since the 8.3 release. Check the I took care of the manual steps above and am ready to proceed check mark and click on Run Precheck

Once the check is complete we can review the checks that were performed and we can continue by clicking Next.

Review the upgrade details and click on Submit. We are taken to the progress screen where we can follow the progress.

The system will get rebooted and once its back up we will be on 8.16.2

Since we are doing a major upgrade i strongly recommend to clean the cache before using the new vRA version.

VMware Aria Suite Lifecycle Product Support Pack (PSPAK) Upgrade

In this guide i will go over the steps of getting an existing 8.x VMware Aria Suite Lifecycle (formerly vRSLCM vRealize Lifecycle Manager) appliance to support the latest product releases available. Here is a great blog that goes in to the details about what the Product Support Pack is https://blogs.vmware.com/management/2019/01/vrslcm-pspak.html. Typically the newer Product Support Pack is included part of the upgrade for LCM, however sometimes there are product releases in between releases where product support packs come in handy.

The first step is to log in to vRealize Suite Lifecycle Manager under the Lifecycle Operations section

Go to settings -> Product Support Pack

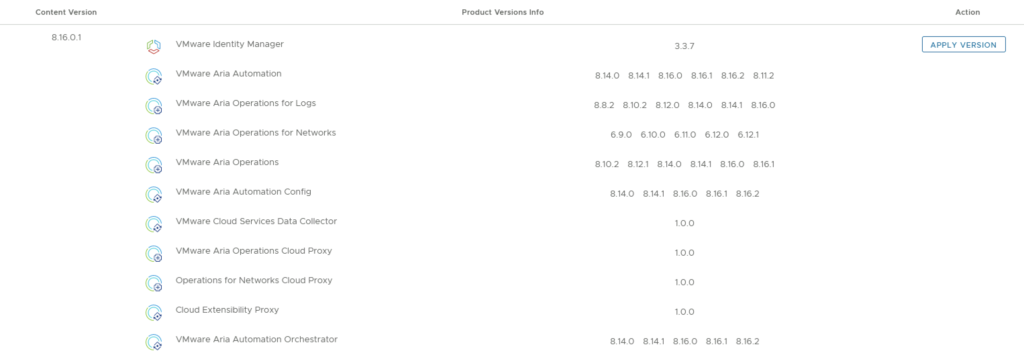
We can see that i recently upgraded to 8.16.0.0 however a new update is available 8.16.0.1. Based on what we can see in the details the new support pack adds support for the Aria 8.16.2 products. If an update is not available click on the Check Support Packs Online button and refresh the screen within a few minutes

Click on Apply Version

Verify that a snapshot or a backup exists and click Submit

We can view the progress by clicking on the Click Here link after submitting the request

Once the process is complete the system will most likely reboot. To check the status we can go back to settings -> Product Support Pack. As we can see we are now at the updated patch level

If you get an error when logging in, clear the browser cache and try again

Upgrading Aria Automation without Lifecycle Manager: A Step-by-Step Guide

Upgrading Aria Automation (formerly known as vRealize Automation, vRA) is crucial for maintaining the efficiency, security, and compatibility of your automation tasks. For environments without VMware Aria Suite Lifecycle, you can still perform the upgrade using the vracli command-line utility. This blog post will guide you through the process of upgrading Aria Automation using two different methods: from a mounted ISO (CD-ROM) and from an online update repository URL.

Prerequisites

  • SSH access to your Aria Automation appliance.
  • Sufficient backup of your Aria Automation environment.
  • Downloaded ISO for the Aria Automation upgrade, if using the CD-ROM method.
  • Access to the Aria Automation appliance with root privileges.
Method 1: Upgrading from a Mounted ISO (CD-ROM)

  1. Prepare the ISO Image: Before starting, ensure that the ISO image for the Aria Automation upgrade is downloaded and available.
  2. Mount the ISO to the Appliance: Mount the ISO image to your Aria Automation appliance. This step might require physical access to the server or through the management interface provided by your hypervisor (e.g., ESXi). To mount the CD-ROM we can use:
mount /dev/sr0 /mnt/cdrom
  1. SSH into the Aria Automation Appliance: Access your appliance via SSH as the root user.
  2. Execute the Upgrade Command: Run the following command to start the upgrade process:
vracli upgrade exec -y --profile lcm --repo cdrom://
  1. This command will automatically start the upgrade process using the ISO mounted on the CD-ROM drive. The -y flag automates the acceptance of the upgrade process, and --profile lcm specifies the use of the lifecycle manager upgrade profile, even though the Lifecycle Manager itself is not being used.
  2. Monitor the Upgrade Process: The upgrade process will provide output to the console. Monitor this output for any errors or prompts that require manual intervention.
  3. Use 'vracli upgrade status --follow' to monitor the progress.
  4. Finalize the Upgrade: Once the upgrade completes, follow any on-screen instructions to finalize the upgrade. This may include rebooting the Aria Automation appliance.

Method 2: Upgrading from an Online Update Repository URL

  1. SSH into the Aria Automation Appliance: Ensure you have SSH access to the appliance as the root user.
  2. Determine the Repository URL: Identify the URL of the update repository you intend to use for the upgrade. This URL should point to the VMware online repository or an internally hosted repository mirror.
  3. Execute the Upgrade Command: Use the following command to initiate the upgrade from the online repository:
vracli upgrade exec --profile lcm -r <url>
  1. Replace <url> with the actual URL of your update repository. Similar to the CD-ROM method, --profile lcm indicates the lifecycle manager upgrade profile.
  2. Monitor the Upgrade Process: As with the ISO method, keep an eye on the console output for any actions required on your part.
  3. Use 'vracli upgrade status --follow' to monitor the progress.
  4. Complete the Upgrade: After the upgrade process finishes, perform any additional steps prompted by the system, which may include system reboots.

Post-Upgrade Steps

  • Verify the Upgrade: Log in to the Aria Automation user interface to verify that the upgrade was successful and all services are running correctly.
  • Review Logs: Check the upgrade logs for any warnings or errors that might need attention.
  • Test Deployments: Execute a few test deployments to ensure that all functionalities are working as expected.

Conclusion

Upgrading Aria Automation without the Lifecycle Manager is straightforward with the vracli utility. Whether you’re upgrading from a mounted ISO or an online repository, the process is designed to be seamless. Always ensure that you have backups and a rollback plan in case of any issues.

Deploying Aria Automation 8.16 using the Easy Installer

In this guide i will go over the deployment of Aria Automation 8.16 using the Easy Installer. The reason i like the Easy Installer is because it deploys everything that I need: Identity Manager, Aria Suite Lifecycle as well as Aria Automation.

To get started we need to download the installer from here.

Once downloaded mount the iso as a drive using your favorite tool or extract it as a archive using something like 7-zip

Once mounted go to the CDROM in the vrlcm-ui-installer\Mac directory if on mac or vrlcm-ui-installer\win32 if you are on windows. In here run the installer file

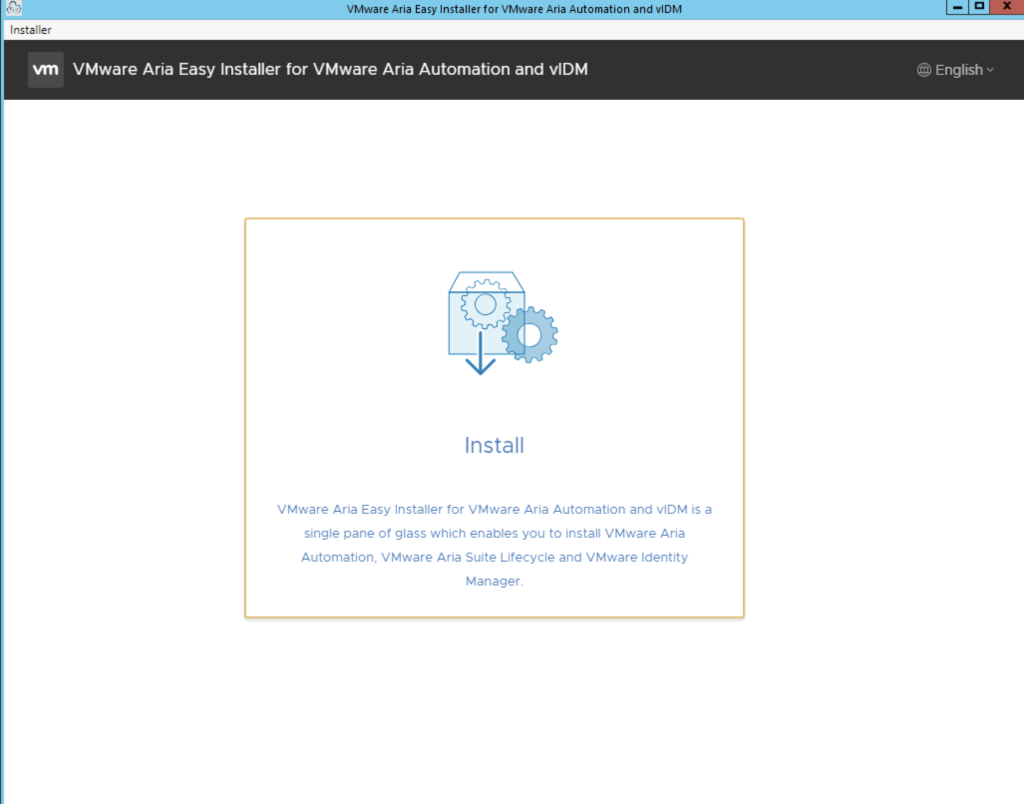
We will be presented with the following window:

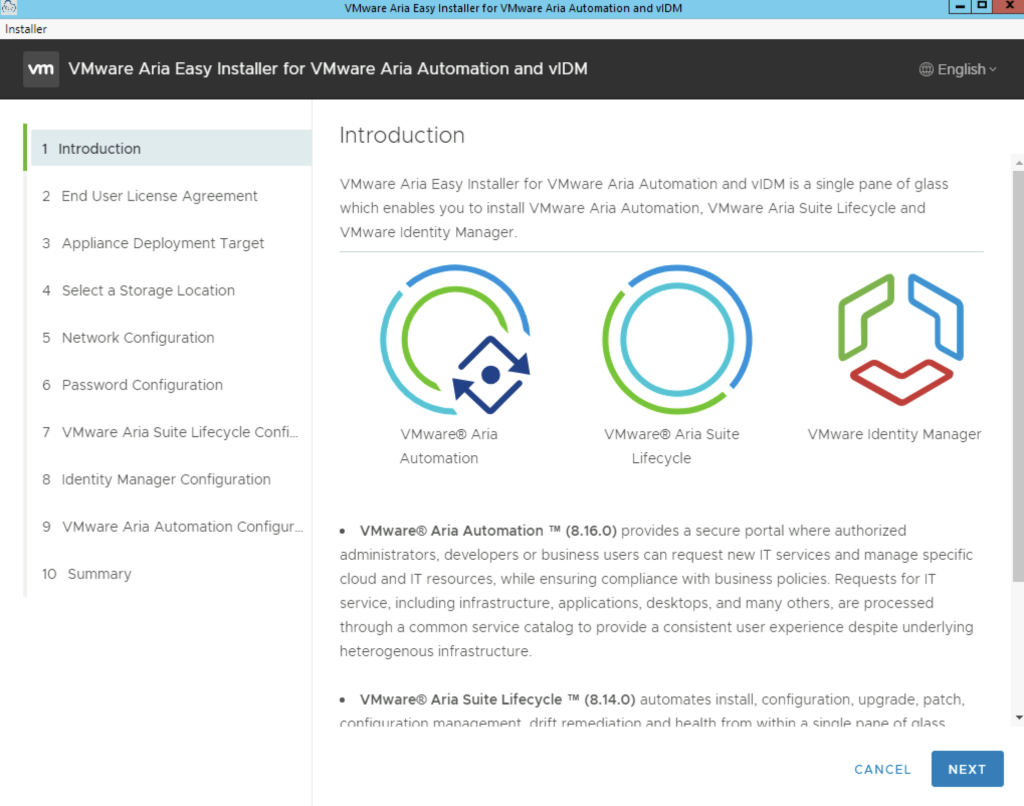
Once we click Install we will be presented with an Introduction of what components will be included part on the installation. In my case i can see Aria Automation 8.16, Aria Suite Lifecycle 8.14, Identity Manager 3.3.7.

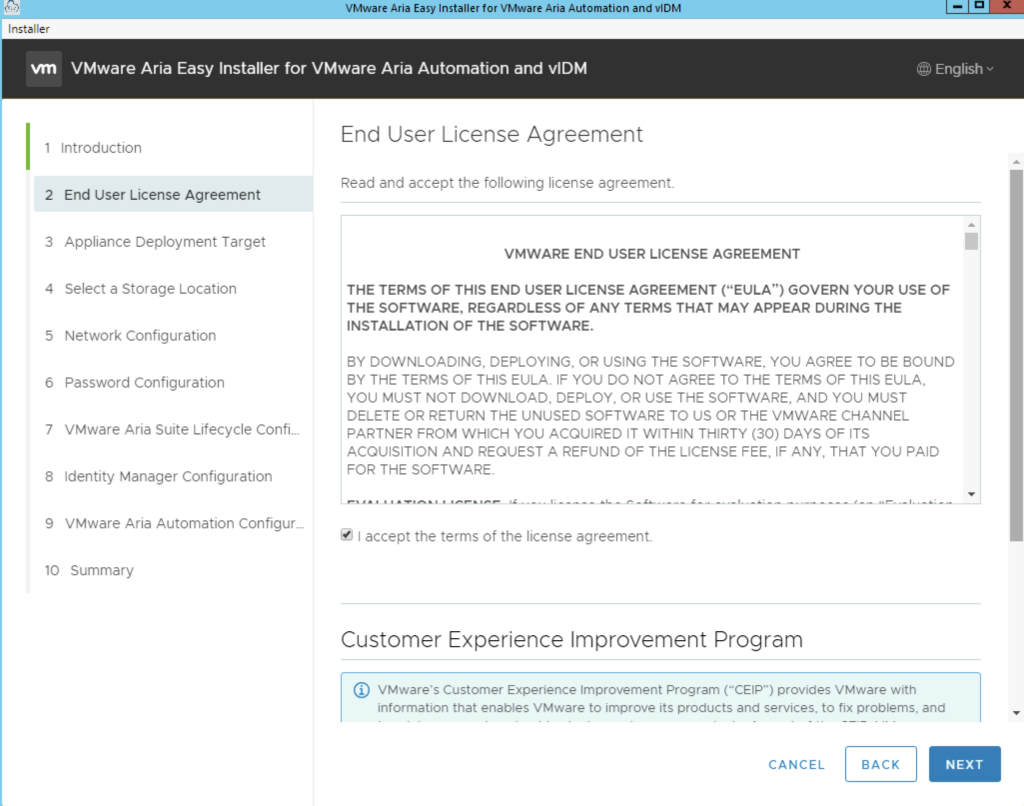
Click Next, Review, accept the agreement and click next

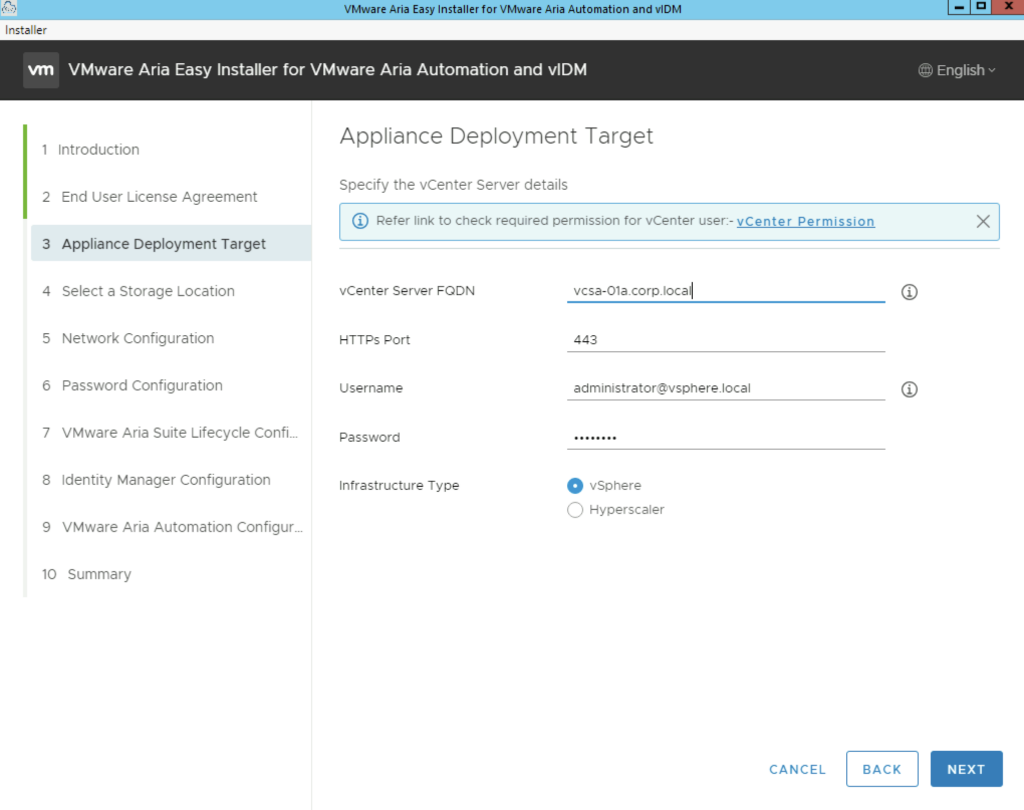
Provide the vCenter details and click next. In my case i used the administrator account. A detailed list of permissions needed for deployment can be found here

Sections 4, 5, 6 and 7 are straight forward so i will skip them

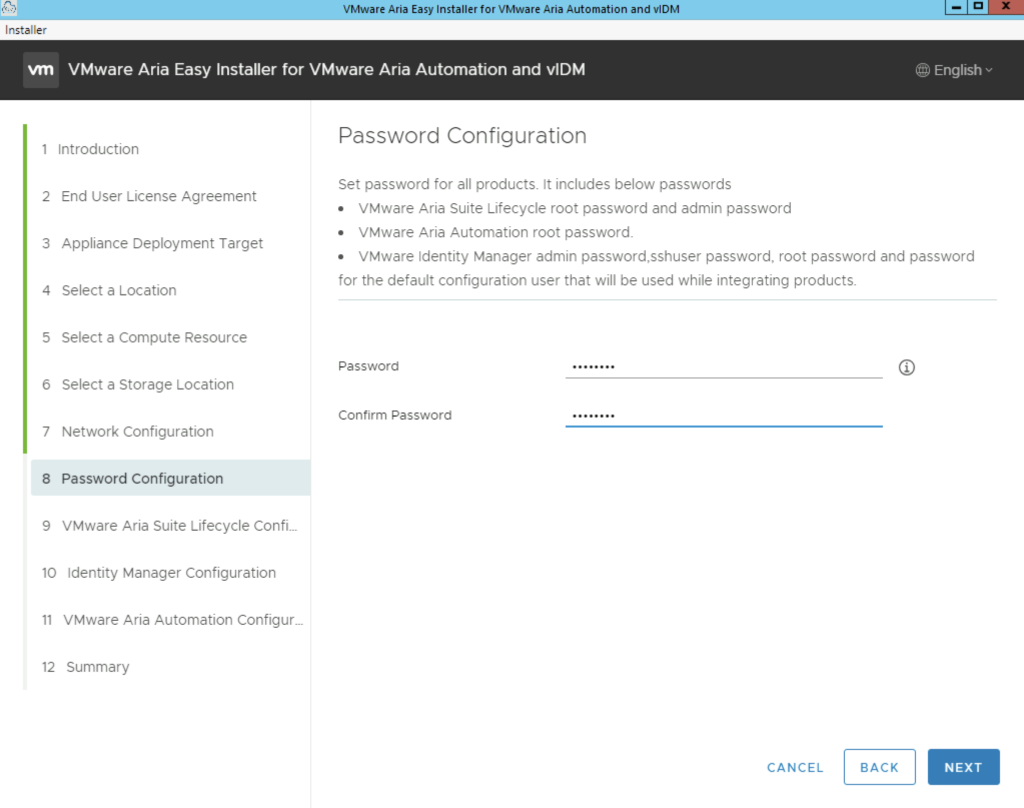
In section 8 select a password that will be used across all products for the local usernames. ex for LCM root and local admin, vIDM admin, sshuser, root etc

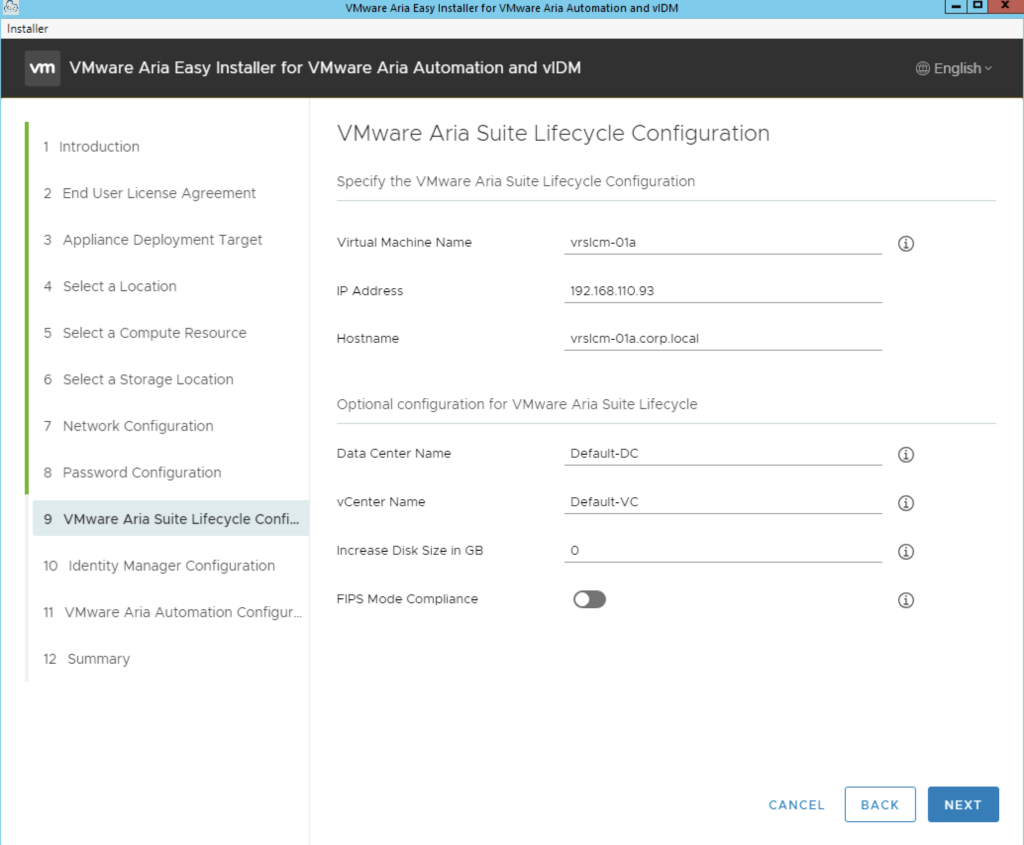
Select a VM name for the Lifecycle Manager appliance and its ip. If you are expecting a large repository in lifecycle manager we can add additional disk under the Increase Disk Size in GB section.

The FIPS Mode compliance option enforces FIPS compliance, however keep in mind that with the FIPS mode enabled there are limitation on what the product can do. This can be disabled later and re enabled as needed.

Complete the fields and click next

The next portion is vIDM. In case there is an existing vIDM appliance in the environment we can also import and existing vIDM appliance. In my case i will deploy a new one.

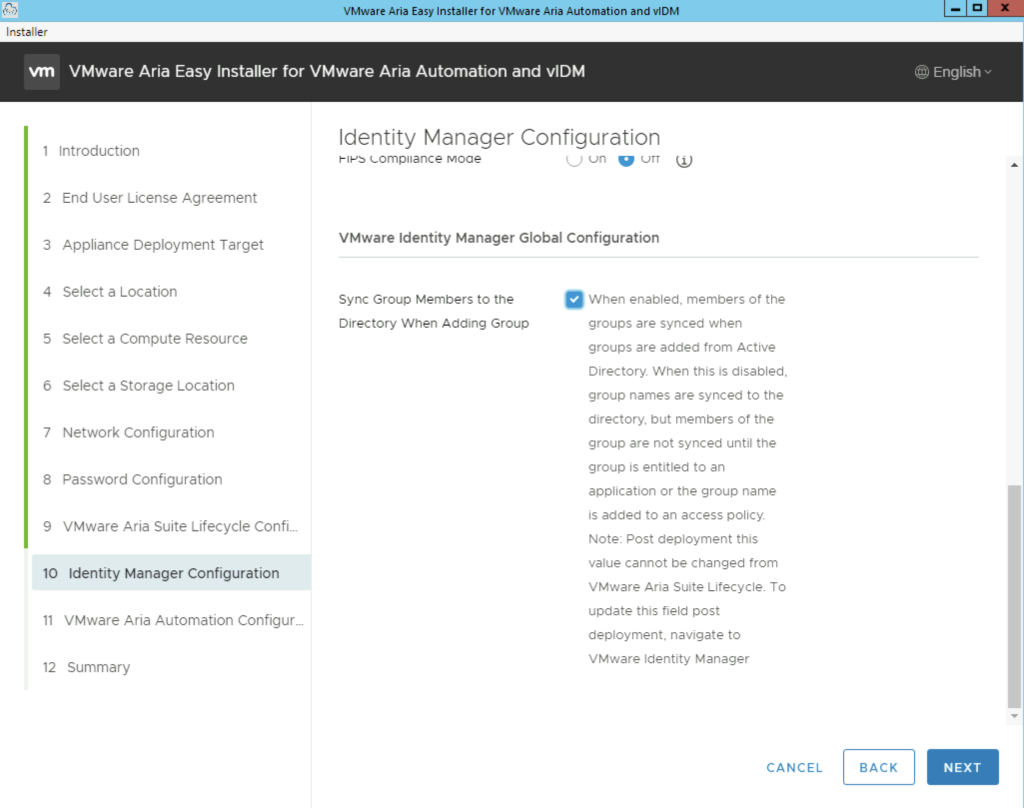
One important option under vIDM is the Sync Group Members to the Directory When Adding Group. When enabled, members of the groups are synced when groups are added from Active Directory. When this is disabled, group names are synced to the directory, but members of the group are not synced until the group is entitled to an application or the group name is added to an access policy. Note: Post deployment this value cannot be changed from vRealize Suite Lifecycle Manager. To update this field post deployment, navigate to VMware Identity Manager

My configuration page looks like this:

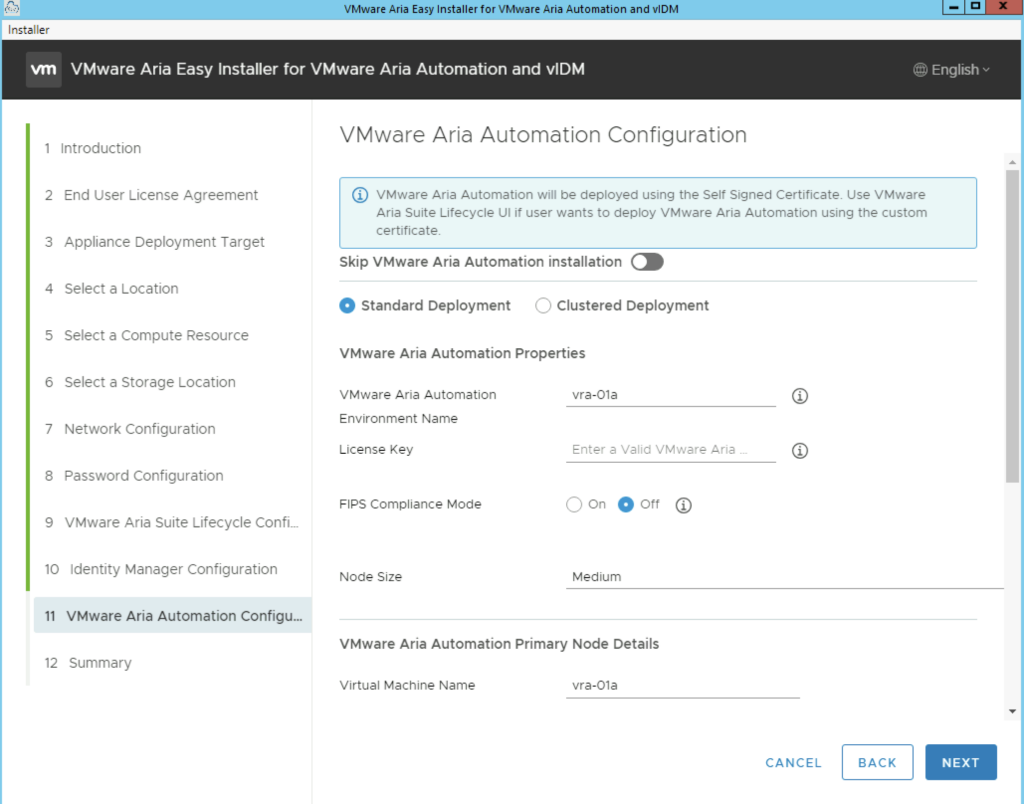
The next section is the vRA Configuration. In here we have a couple of options. We can perform a standard 1 node deployment or a cluster deployment which includes 3 appliances. The FIPS Compliance mode enables FIPS compliance. Unlike LCM this mode cannot be disabled after the deployment. This disables a number of options in vRA from an LCM perspective. Please make sure that its only enabled if required.

The advanced configuration at the bottom of the page includes the option to change the internal Kubernetes cluster and Service ip range. This is useful if the default range is already in use on the internal network. We want to make sure we pick an ip range thats not used somewhere else in order to avoid routing issues. Once complete click next

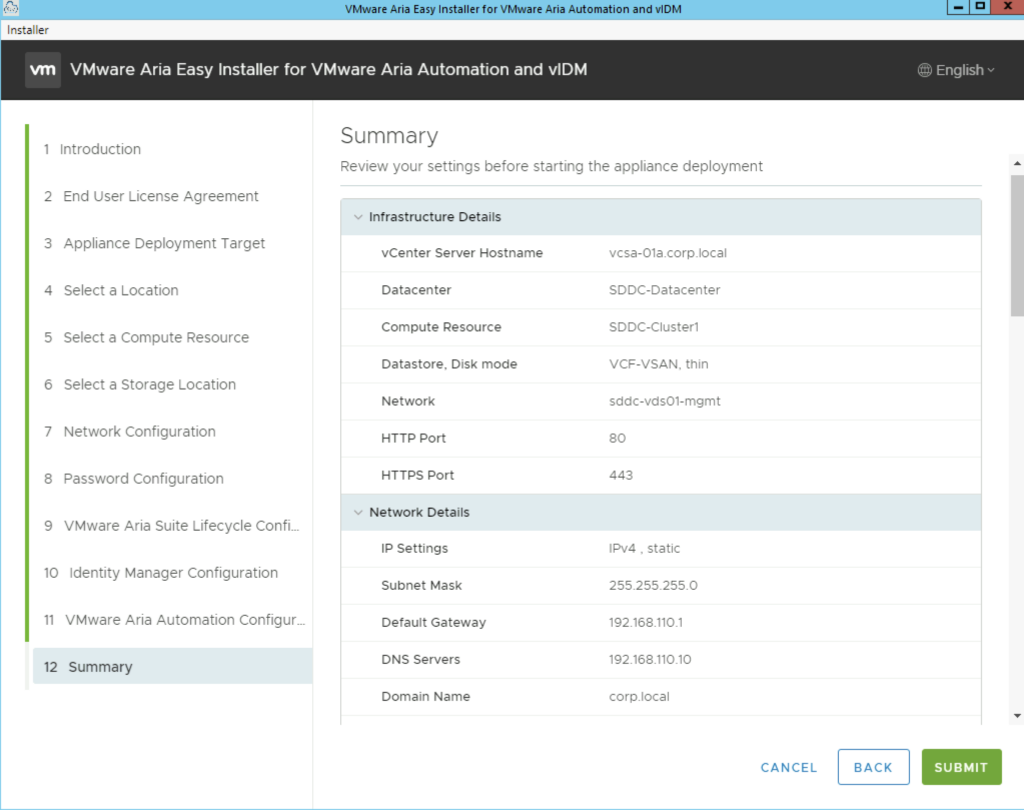
The next page gives us a summary of our deployment and we can click submit to start the deployment.

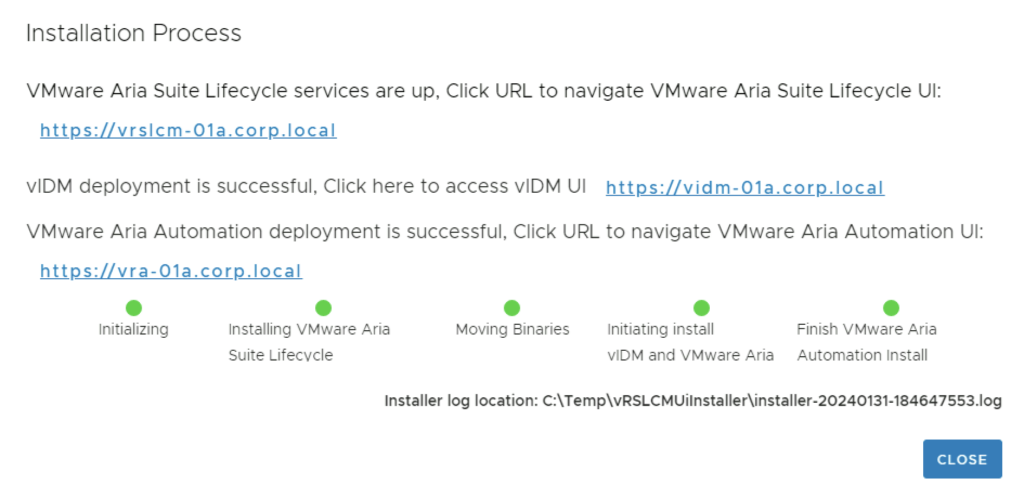
Next we are presented with the installation process. We can follow it along, in my environment the full deployment took about 1.5 hrs

After the install is complete we are presented to links for the different services

Next i would recommend LCM certificate management found here