Browse Category

VMware

VMware products

Upgrading VCF 4.3.x to VCF 5 Step by Step

With the release of of VCF 5 I wanted to get my lab upgraded. The release blog can be found here and the release notes are here

Please note that some of the components within the VCF will still need additional upgrading. Please read the release notes for additional details.

We can start by going to Inventory -> Workload Domains -> Select the domain -> Update/Patches -> Select the VCF version -> Download now. If you do not see the newest releases go to Administration -> Online Depot and add a VMware Customer Connect account that has access to perform downloads.

We can also download it directly from the domain by going to Inventory -> Workload Domains -> Select the domain -> Update/Patches -> Select the VCF version -> Download now

Next we need to download the configuration drift bundle by going to Lifecycle Management -> Bundle Management -> Download now

The next step is to upgrade VCF by going to Inventory -> Workload Domains -> Select the workload domain -> Update/Patches -> Select the cloud foundation version we’re upgrading to and click on Update Now for the VMware Cloud Foundation Update 5.0

Next we are taken to the Upgrade page where we can follow the upgrade for each one of the components
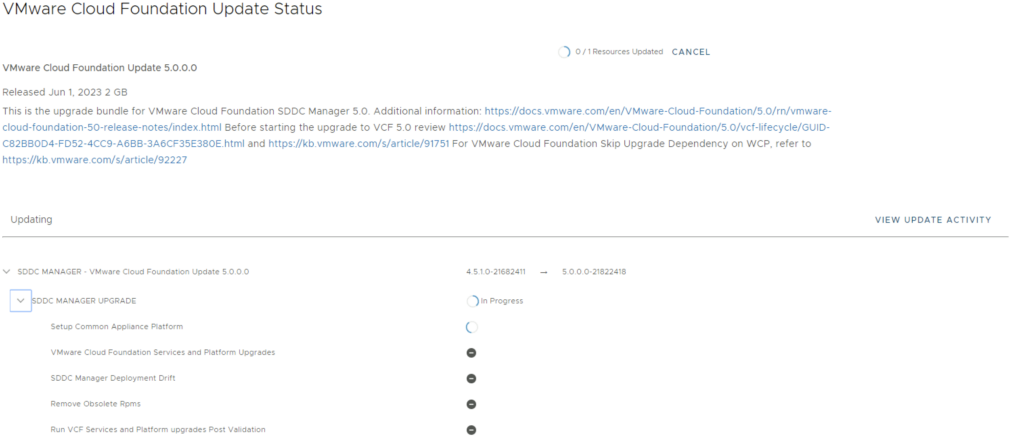
Once the upgrade is complete we can click Finish to be returned back to the main screen

Because we are changing the SDDC-Manager versions i would strongly recommend to clear cache and log back in before going forward.

The next step is the drift remediation VCF by going to Inventory -> Workload Domains -> Select the workload domain -> Update/Patches -> click on Update Now for the VMware Cloud Foundation Update 5.0

Next step is to upgrade NSX-T installation to NSX-T 4.1.0.2.0. The release notes can be found here. We can go to Lifecycle Management -> Bundle Management -> Download now.

We can also download it directly from the workload domain by going to Inventory -> Workload Domains -> Select the domain -> Update/Patches -> Download now

Once the download is complete we can proceed with updating the NSX components by clicking on the update now

Make the proper selection and click next

Make the proper selection and click next

Make the proper selection and click next

Review the options and click on Finish

The upgrade will go thought upgrading the NSX edges. We can view the upgrade status by clicking on view status

Once the edges are upgraded we an go back to Inventory -> Workload Domains -> Select the workload domain -> Update/Patches -> Under Available updates click on Update Now

Review the selection and click next

Review the host clusters and click next

Review the upgrade options and click next

Review the selection and click finish

We can view the status of the upgrade by selection view status

Once the upgrade is complete we can proceed with the vCenter Upgrade. VCF 5 comes with vCenter Server 8.0 Updated 1a. The release notes can be found here. We can go to inventory -> Workload Domains -> Select the workload domain -> Update/Patches -> Under Available updates click on Download now.

Once the download is complete we can click on Update now

Confirm that we have a backup

Considering that the vCenter upgrade is not in place we are presented with a wizard that can automate most of the background work for us. Click next
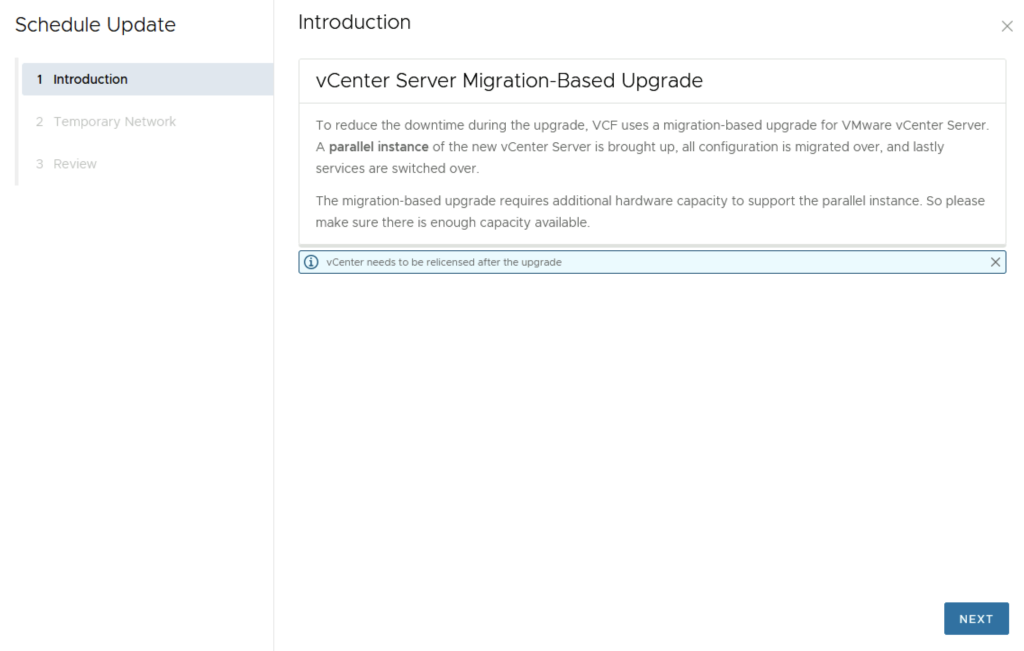
Provide a temporary IP for the temporary appliance
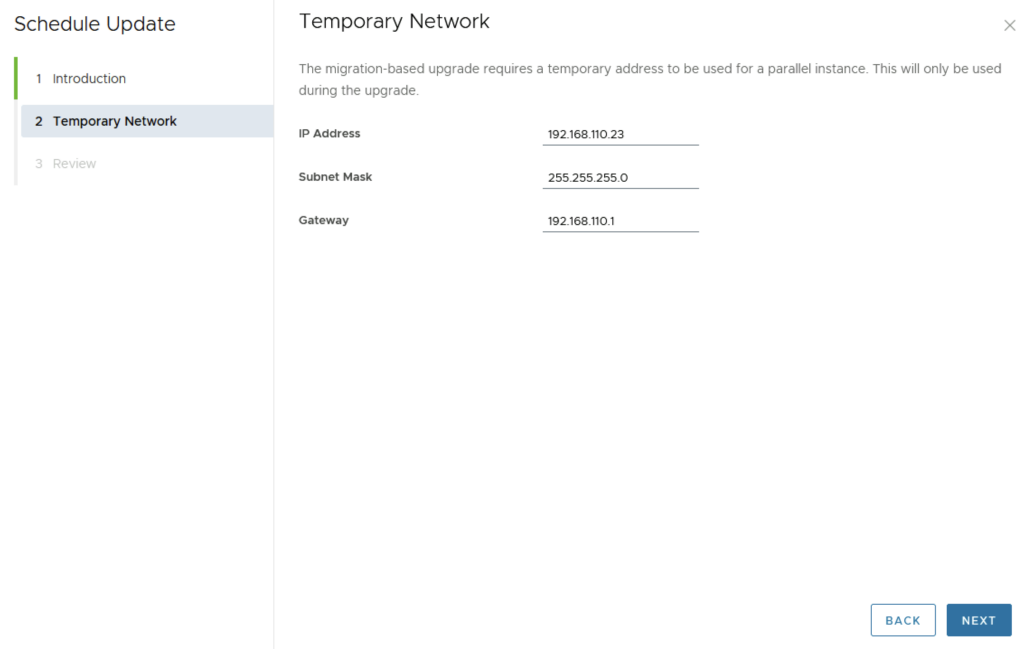
Review the information and click Finish
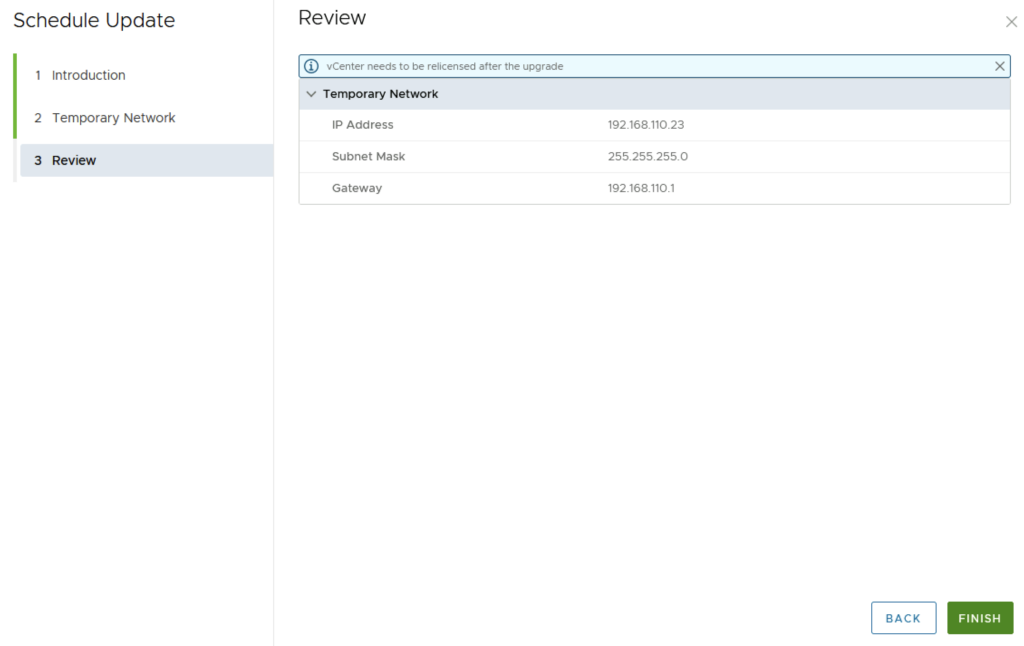
We can follow the status of the upgrade by clicking on the view status tab

Here we can see the different components that are getting upgraded
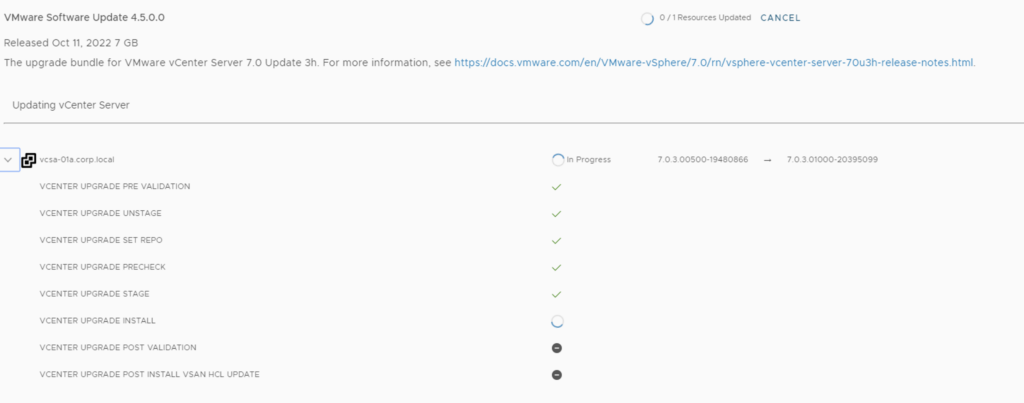
Once the upgrade is complete we are taken back to the previous page where we can see that the ESXi servers are next. The release notes can be found here. Click on Download Now

Once the download is complete we can click on Update now

If we have multiple clusters we can enable Cluster-level selection and select the specific cluster(s) we want to upgrade.

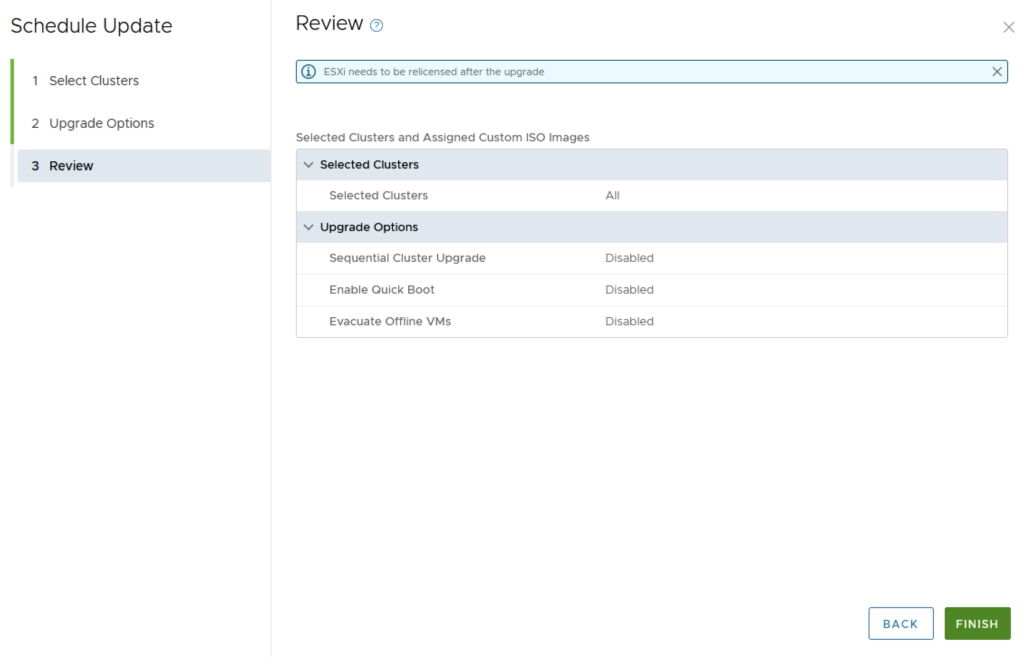
We can also enable sequential cluster upgrade, quick boot and the ability to evacuate offline VMs part of the maintenance. Click Next
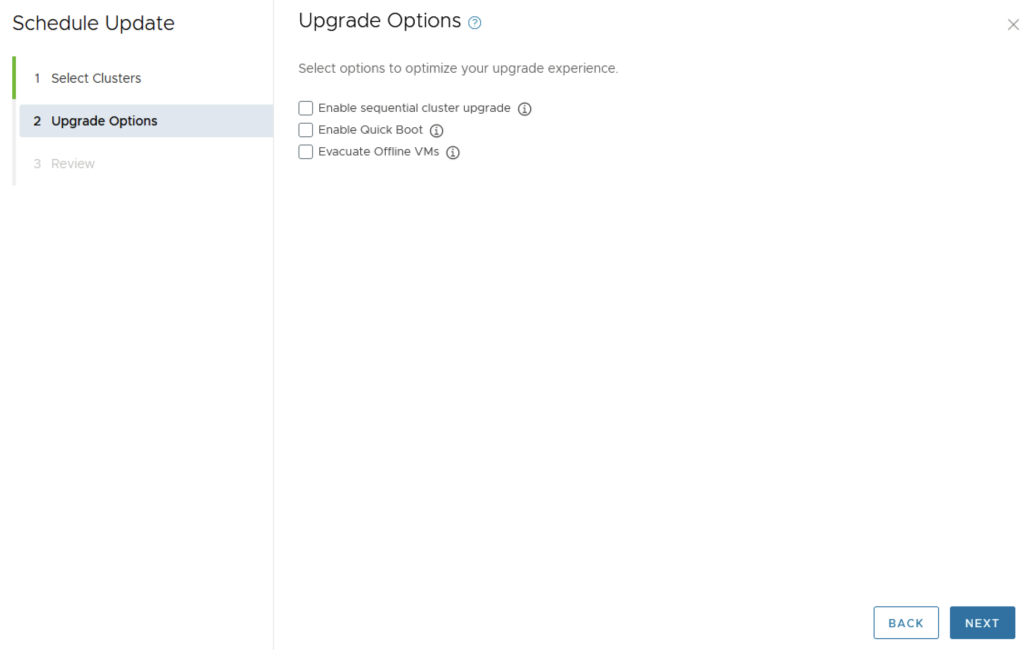
We get to review the options once again before we click finish to to submit the task
Once submitted we can view the status by clicking on View Status

And with that we are finished with the workload domain. We can follow the same steps for the other domains

Don’t forget to clean up the download bundles by following the steps from my other blog here
Upgrading vRSLCM (vRealize Lifecycle Manager) to 8.12

In this guide i will go over the steps of getting an existing 8.x vRSLCM appliance upgraded to the latest 8.12 release. The release notes can be found here

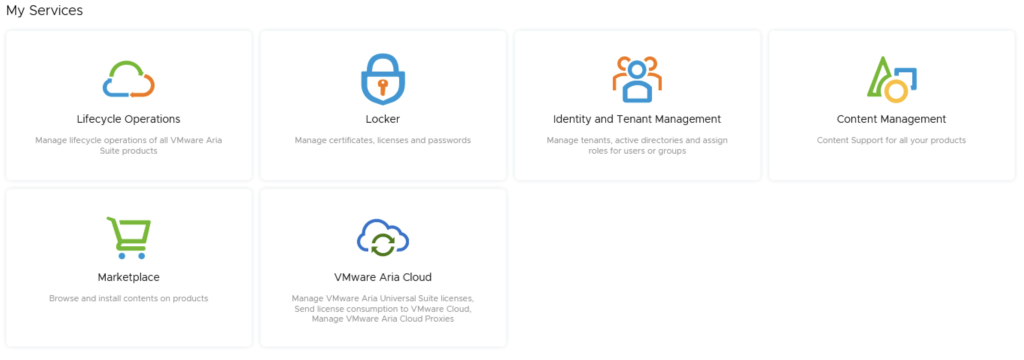
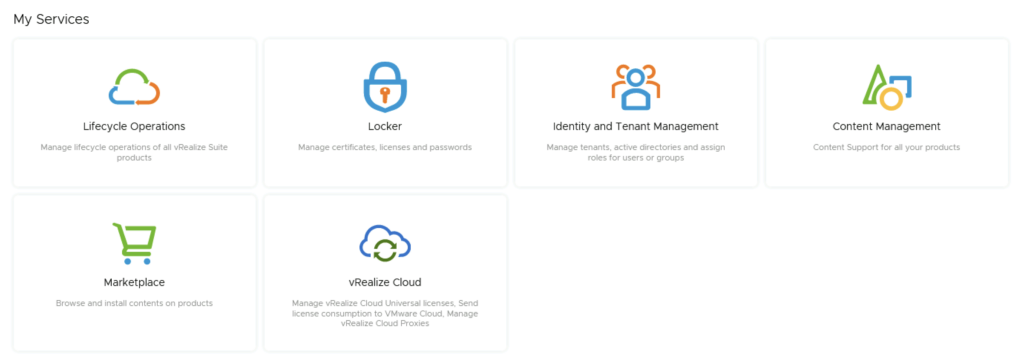
The first step is to log in to vRealize Suite Lifecycle Manager under the Lifecycle Operations section

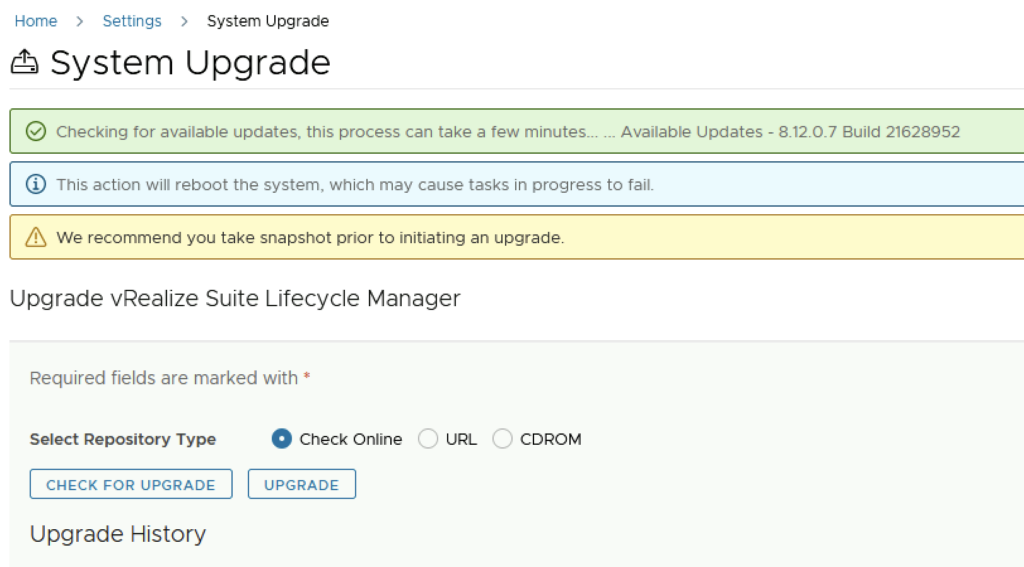
Go to settings -> System Upgrade

Click on Check for Upgrade

We can see that the check found a new version available for 8.12

Click on Upgrade

Verify that a snapshot or backup exists in case the process fails. Check the check mark for I took a snapshot of the vRealize Suite Lifecycle Manager before I performed this operation. Click Next

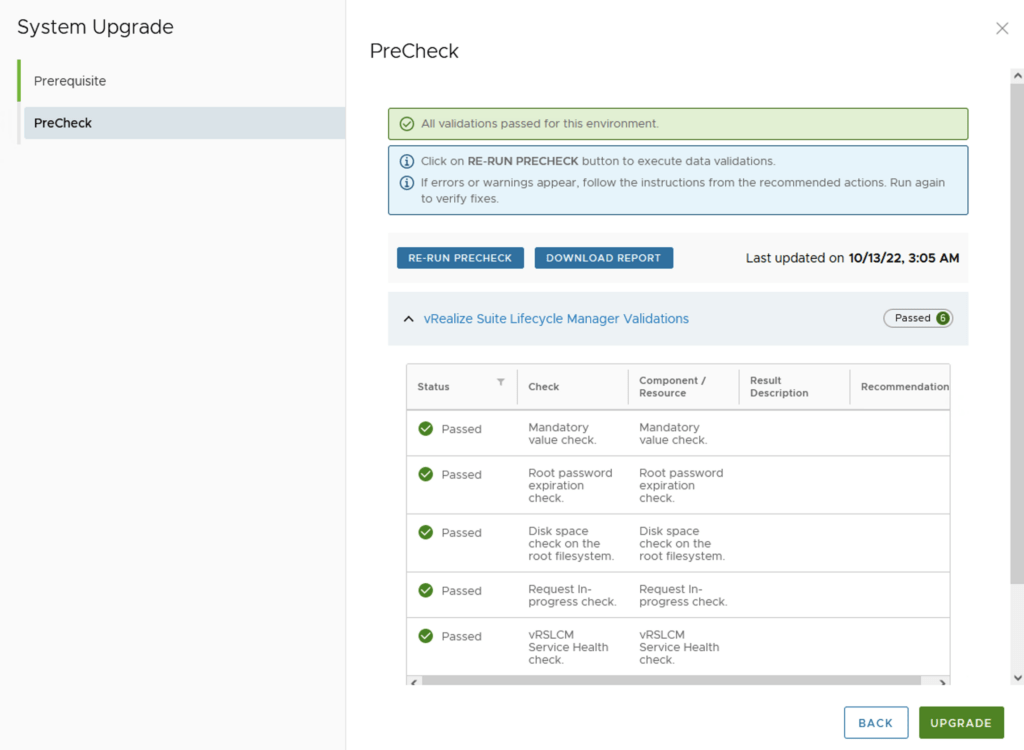
Click on Run Precheck

Verify that all check have passed and click on upgrade

This will fire up the upgrade process and start upgrading packages. The system will automatically reboot on 8.12 once completed. We can check the version by going to Settings -> System Details

If you get the below error clear the browser cache and try again

Upgrading SSC (SaltStack Config) to 8.12.1 using vRSLCM

In this post i will go over upgrading my 8.x SSC appliance to 8.12.1. As a pre requirement we do need to have VMware Aria Suite Lifecycle upgraded to 8.12. Instructions can be found here. The upgrade does not include the latest PSPACK that contains the 8.12.1 SaltStack Config release. Instructions to get the PSPACK can be found on my other blog post here.

To get started we can go to vRealize Lifecycle Manager -> Lifecycle Operations -> Settings -> Binary Mapping. (If you haven’t added your My VMware credentials you will need to do that first by going to vRealize Lifecycle Manager -> Lifecycle Operations -> Settings -> My VMware)

Click on Add Binaries under Product Binaries

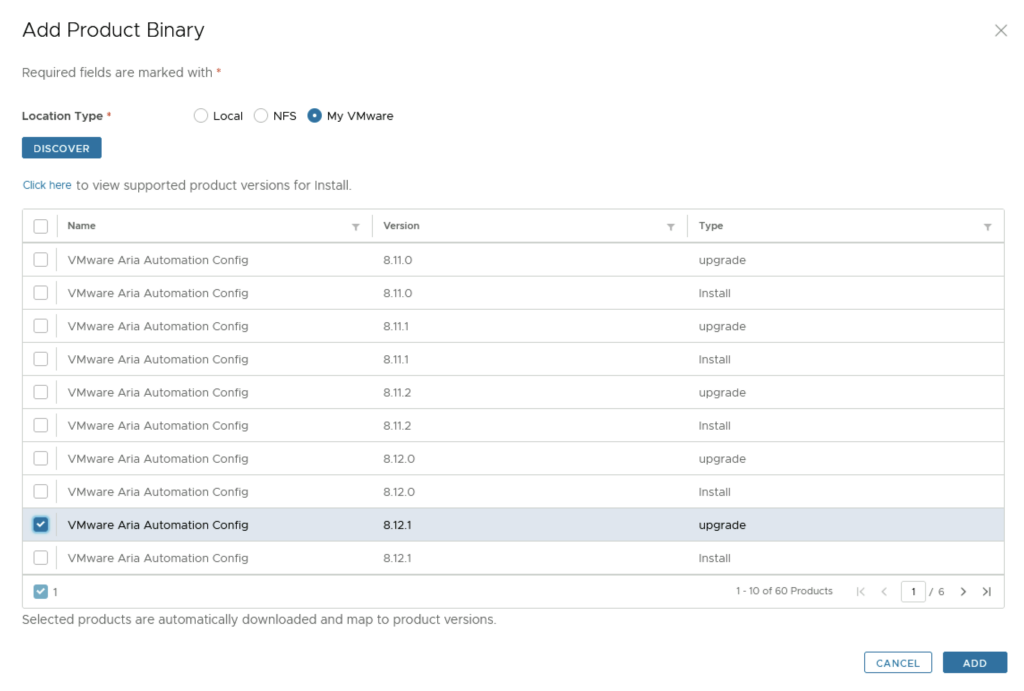
Select My VMware and click on Discover

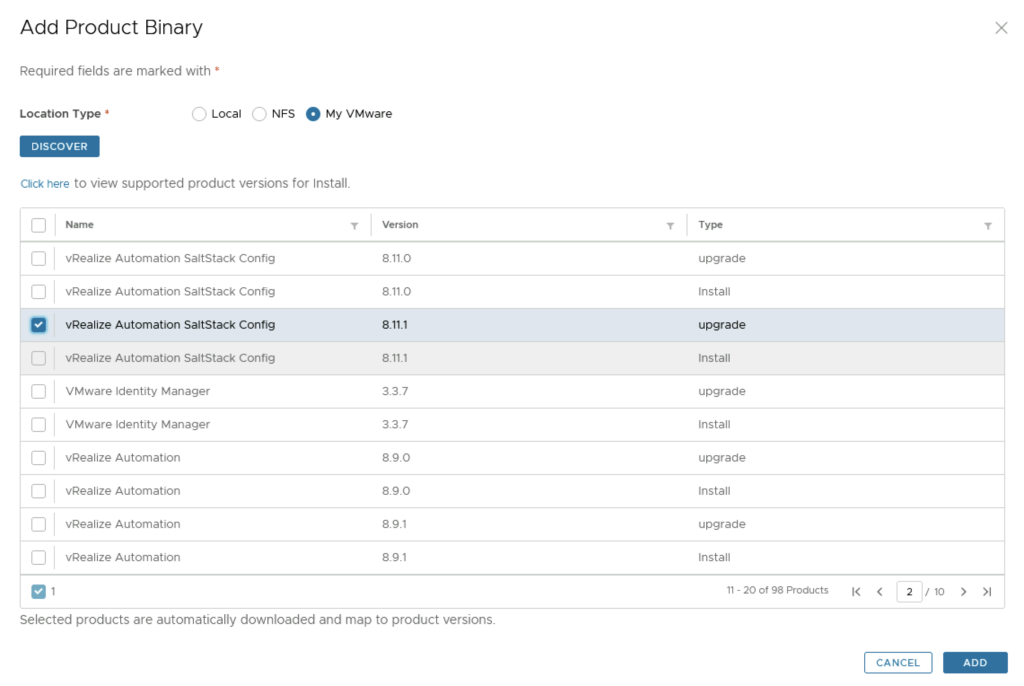
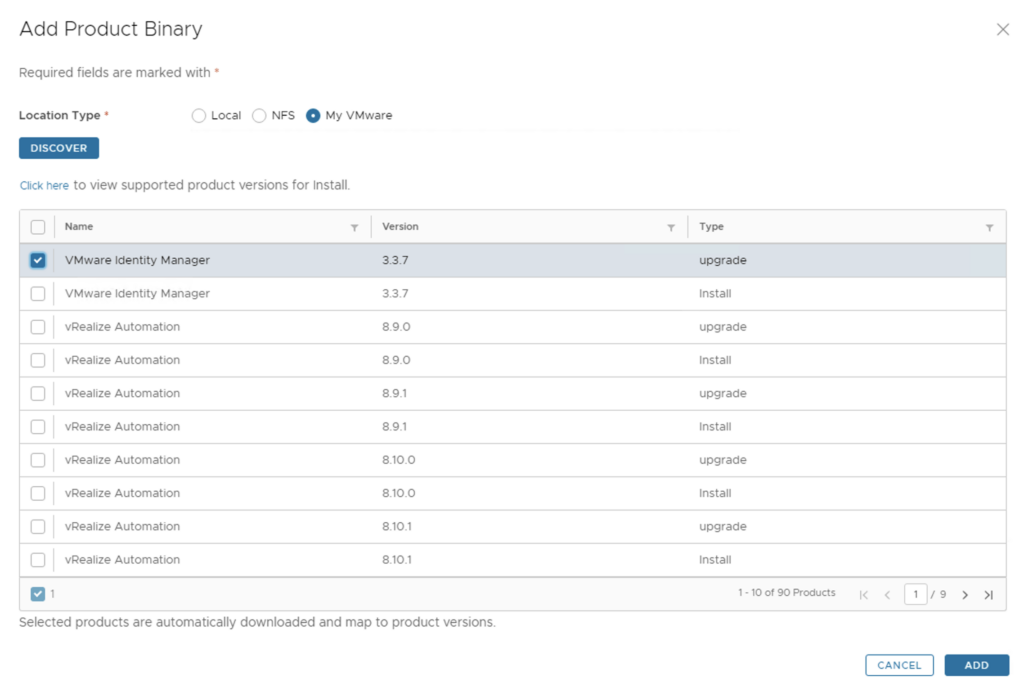
We can see a list of binaries that have been discovered. We can select what we need and click on Add

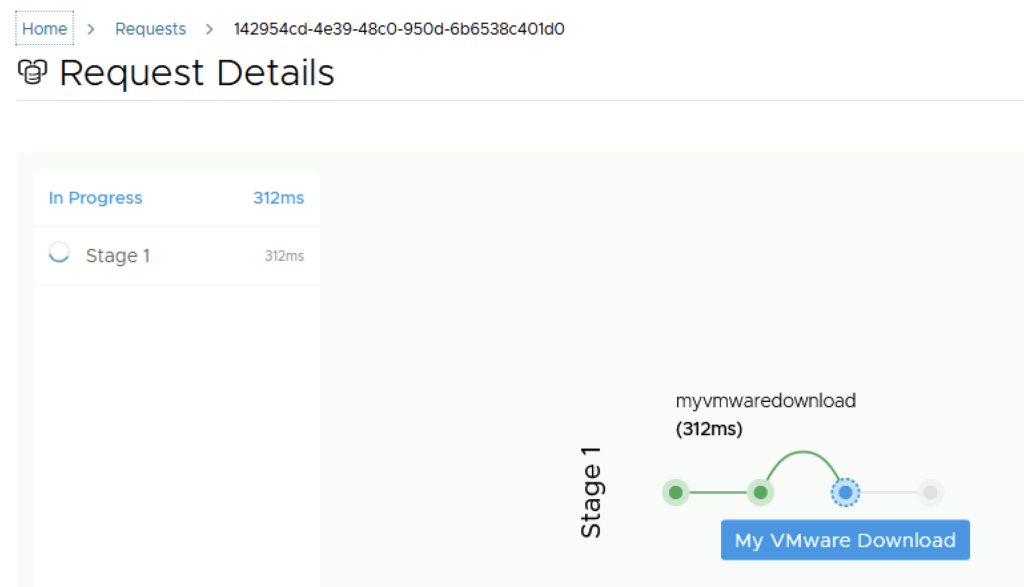
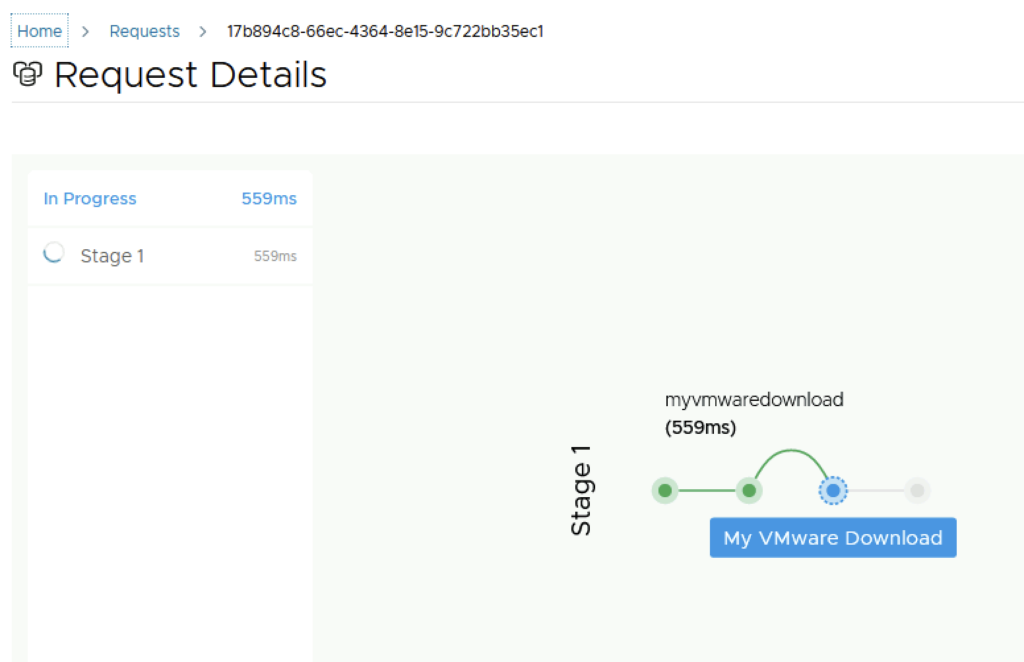
This will create a request and start downloading the package. To view the progress we can click on the Click Here hyperlink

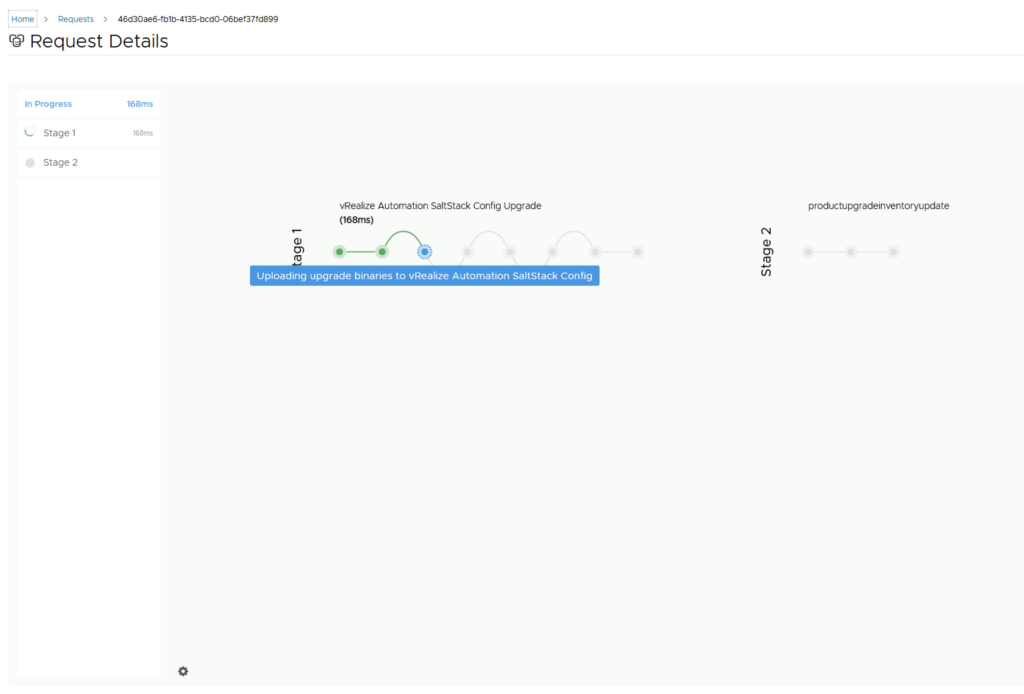
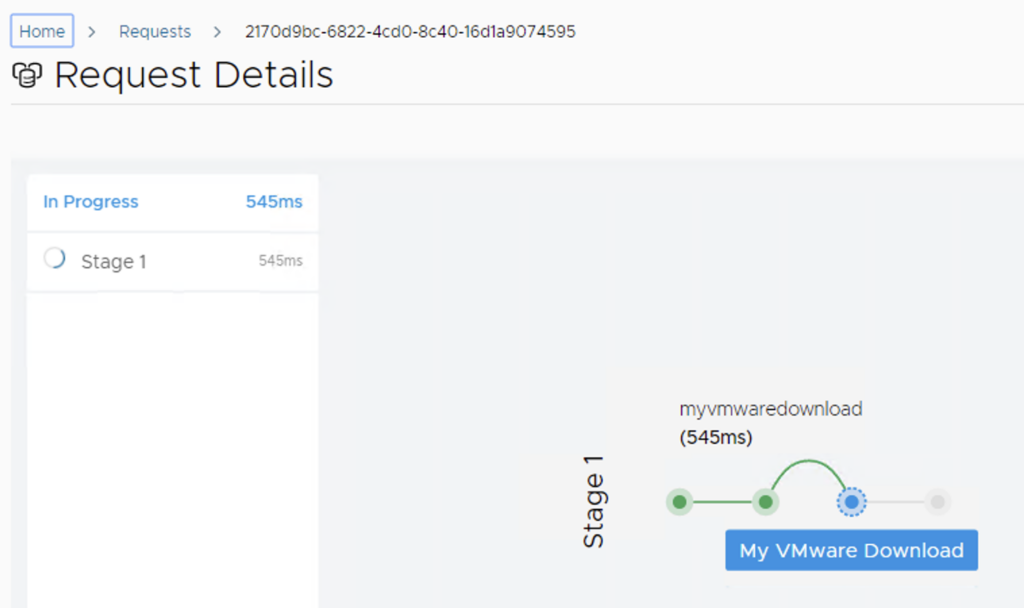
Click on the in Progress button to view the details

We now have to wait for the download to complete

After the download is complete we can go to Environments -> View Details on the environment that includes SSC

Click on Upgrade

An Inventory sync is recommended if the environment has changed since LCM performed the last sync. We trigger the sync from the UI or click on Proceed to continue

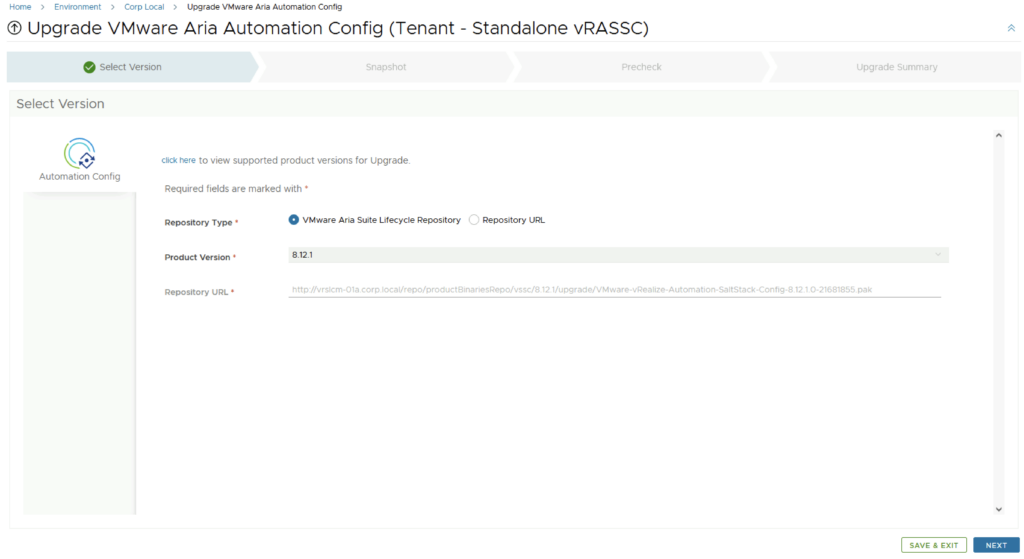
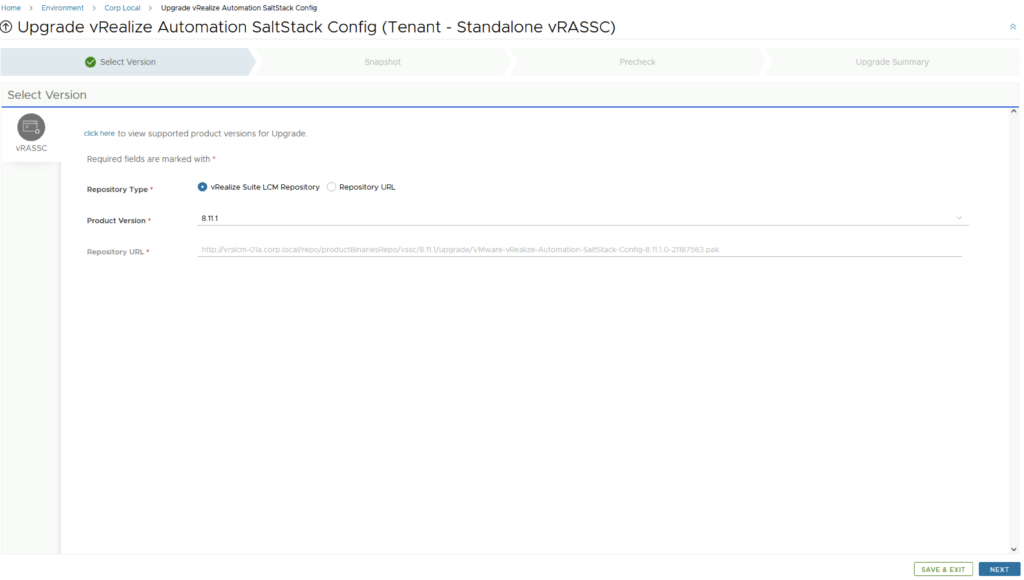
Select product Version 8.12.1 and click Next. We can also review the compatibility matrix to make sure the environment is compatible.

We can automatically create and delete a snapshot part of the upgrade process

Run the Precheck to make sure there are no errors

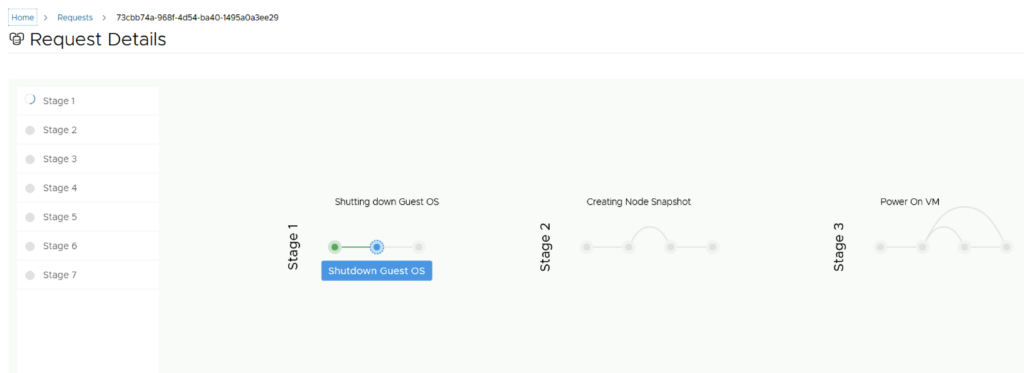
Once the check is complete, click on Next. Review the upgrade details and click on Next. We are taken to the progress screen where we can follow the progress.

The system will get rebooted and once its back up we will be on 8.12.1

Here are a few additional blogs that might be useful post upgrade:

Error Code: LCMVSSC10018

SSC 8.8 sseapi_rpc_queue: could not connect to SSE server

SSC 8.8 urllib3 (1.25.11) or chardet (4.0.0) doesn’t match a supported version

Authentication failed: no Authorization header

VMware Aria Suite Lifecycle Product Support Pack (PSPAK) Upgrade

In this guide i will go over the steps of getting an existing 8.x VMware Aria Suite Lifecycle (formerly vRSLCM vRealize Lifecycle Manager) appliance to support the latest product releases available. Here is a great blog that goes in to the details about what the Product Support Pack is https://blogs.vmware.com/management/2019/01/vrslcm-pspak.html. Typically the newer Product Support Pack is included part of the upgrade for LCM, however sometimes there are product releases in between releases where product support packs come in handy.

The first step is to log in to vRealize Suite Lifecycle Manager under the Lifecycle Operations section

Go to settings -> Product Support Pack

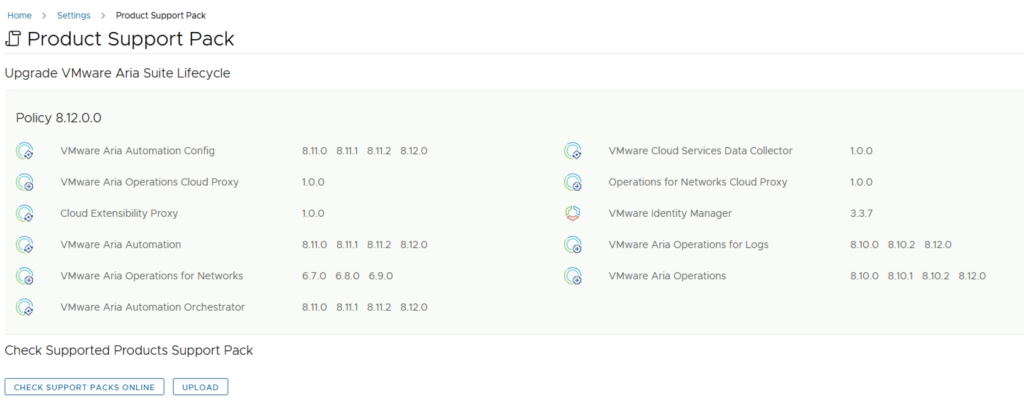
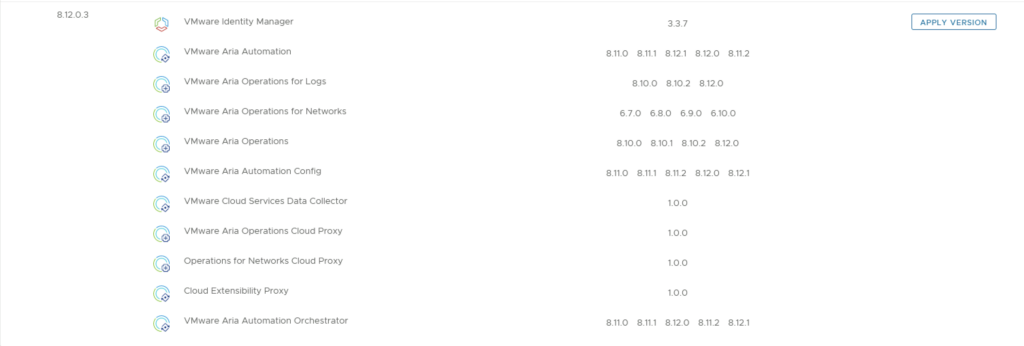
We can see that i recently upgraded to 8.12.0.0 however a new update is available 8.12.0.3. Based on what we can see in the details the new support pack adds support for vRA 8.12.1. If an update is not available click on the Check Support Packs Online button and refresh the screen within a few minutes

Click on Apply Version

Verify that a snapshot or a backup exists and click Submit

We can view the progress by clicking on the Click Here link after submitting the request

Once the process is complete the system will most likely reboot. To check the status we can go back to settings -> Product Support Pack. As we can see we are now at the updated patch level

If you get the below error clear the browser cache and try again

Install/Upgrade ESXi 8.0 on unsupported hardware.

As i was installing\upgrading my lab environment to ESXi 7.0 i received an error that the CPU was unsupported. As per the release notes vSphere 8.0 release notes my CPU is no longer on the compatibility list.

Since this is a lab environment i wanted to continue using my current hardware. It goes without saying that this method should not be used in a production environment.

To allow the legacy CPU all I had to do is boot up from the ISO, on the boot Menu I pressed TAB or Shift + O and added allowLegacyCPU=True option as seen in the screenshot below

How to forcibly delete an NSX-T 3 Segment

I recently ran in to a problem where i couldnt delete an NSX segment so i went exploring the API. The API guide can be found here

The method used is delete policy/api/v1/infra/segments/{segment-id}?force=true

It would look like this in Postman:

To list the segments we can use a get request towards /policy/api/v1/infra/segments/

Removing NSX stale packages from ESXi host

I recently ran in to a problem where i wanted to perform a clean configuration of one of my ESXi hosts from an NSX perspective, however i ran in to a problem where NSX was reporting that the packages are already installed. To fix the issue i had to run the following to list the packages installed:

esxcli software vib list | grep -i nsx

Once i had the list all i had to do is uninstall them using:

esxcli software vib remove -n packagename1 -n packagename2 ...

Once the uninstall was complete i was able to redeploy NSX from the NSX Manager

Configure NSX-T to use vIDM as authentication

I needed to create a few additional accounts in NSX-T for outside sources. Instead of creating individual accounts i wanted to use the existing ones from AD.

To get started we need to get the certificate from the vIDM server. Log on to the vIDM server as root and run the following:

openssl1 s_client -connect <FQDN of vIDM host>:443 < /dev/null 2> /dev/null | openssl x509 -sha256 -fingerprint -noout -in /dev/stdin

Next we need to create the OAuth client ID in vIDM. Log in to the vIDM UI using the url <FQDN of vIDM host>SAAS/admin/app/page#!/dashboard as admin and Navigate to Catalog -> Settings

Navigate to Remote App Access -> Clients -> Create Client

In the Access Type chose Service Client Token, Client ID can be anything. Under Advanced click on Generate Shared Secret (take a note of this because we need it on the NSX side)

Next, log in to the NSX-T cluster and go to System -> Users and Roles -> VMWARE IDENTITY MANAGER -> Edit

Next fill in all the required fields with the existing data that we generated in the previous steps

Next we can see the integration as enabled and the connection as up

Next we can go to USERS click on ADD -> Role Assignment for VIDM

As you type in a user the system will try to auto complete it

Once the users and groups are defined all is left is to test out the authentication and validate that everything works

Upgrading SSC (SaltStack Config) to 8.11.1 using vRSLCM

In this post i will go over upgrading my 8.x SSC appliance to 8.11.1. As a pre requirement we do need to have vRSLCM (vRealize Lifecycle Manager) upgraded to 8.11.1. Instructions can be found here. The upgrade does not include the latest PSPACK that contains the 8.11.1 SaltStack Config release. Instructions to get the PSPACK can be found on my other blog post here.

To get started we can go to vRealize Lifecycle Manager -> Lifecycle Operations -> Settings -> Binary Mapping. (If you haven’t added your My VMware credentials you will need to do that first by going to vRealize Lifecycle Manager -> Lifecycle Operations -> Settings -> My VMware)

Click on Add Binaries under Product Binaries

Select My VMware and click on Discover

We can see a list of binaries that have been discovered. We can select what we need and click on Add

This will create a request and start downloading the package. To view the progress we can click on the Click Here hyperlink

Click on the in Progress button to view the details

We now have to wait for the download to complete

After the download is complete we can go to Environments -> View Details on the environment that includes SSC

Click on Upgrade

An Inventory sync is recommended if the environment has changed since LCM performed the last sync. We trigger the sync from the UI or click on Proceed to continue

Select product Version 8.11.1 and click Next. We can also review the compatibility matrix to make sure the environment is compatible.

We can automatically create and delete a snapshot part of the upgrade process

Run the Precheck to make sure there are no errors

Once the check is complete, click on Next. Review the upgrade details and click on Next. We are taken to the progress screen where we can follow the progress.

The system will get rebooted and once its back up we will be on 8.11

Here are a few additional blogs that might be useful post upgrade:

Error Code: LCMVSSC10018

SSC 8.8 sseapi_rpc_queue: could not connect to SSE server

SSC 8.8 urllib3 (1.25.11) or chardet (4.0.0) doesn’t match a supported version

Authentication failed: no Authorization header

Upgrading vIDM (VMware Identity Manager ) to 3.3.7 via vRSLCM

In this post i will go over upgrading my 3.3.6 vIDM appliance to 3.3.7 using vRSLCM (vRealize Suite Lifecycle Manager). If you want to upgrade to LCM 8.10 instructions can be found here. The upgrade does not include the latest PSPACK that contains the 3.3.7 vIDM release. Instructions to get the PSPACK can be found on my other blog post here.

To get started we can go to vRealize Lifecycle Manager -> Lifecycle Operations -> Settings -> Binary Mapping. (If you haven’t added your My VMware credentials you will need to do that first by going to vRealize Lifecycle Manager -> Lifecycle Operations -> Settings -> My VMware)

Click on Add Binaries under Product Binaries

Select My VMware and click on Discover

We can see a list of binaries that have been discovered. Make sure we select the upgrade package not the install package. We can select what we need and click on Add

This will create a request and start downloading the package. To view the progress we can click on the Click Here hyperlink

Click on the in Progress button to view the details

We now have to wait for the download to complete

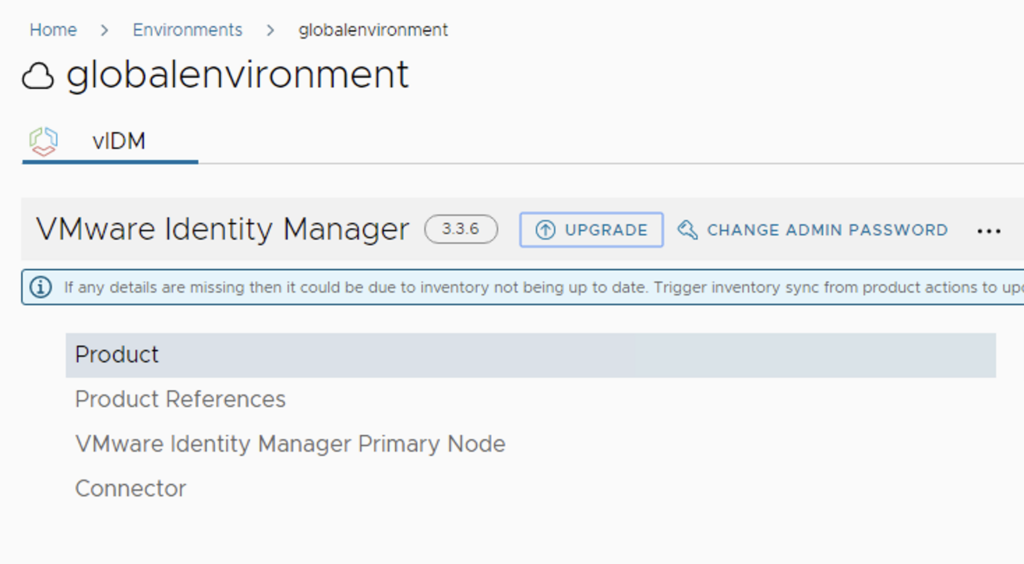
After the download is complete we can go to Environments -> View Details on the environment that includes vIDM

Click on Upgrade

An Inventory sync is required when performing vIDM upgrades. We trigger the sync from the UI and click on Proceed once completed to continue

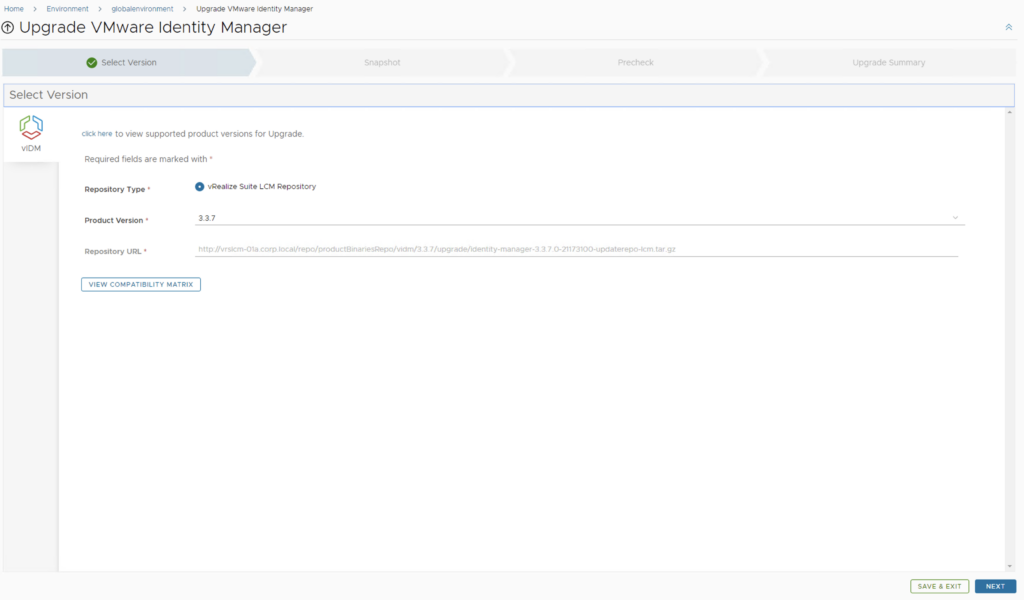
Select product Version 3.3.7 and click Next. We can also review the compatibility matrix to make sure the environment is compatible.

A new feature that was added was the capability to automatically create a snapshot prior to the upgrade and remove it after the upgrade. On this screen we also have the ability to chose if we want to keep the snapshots post upgrade for validation testing for example. Click next

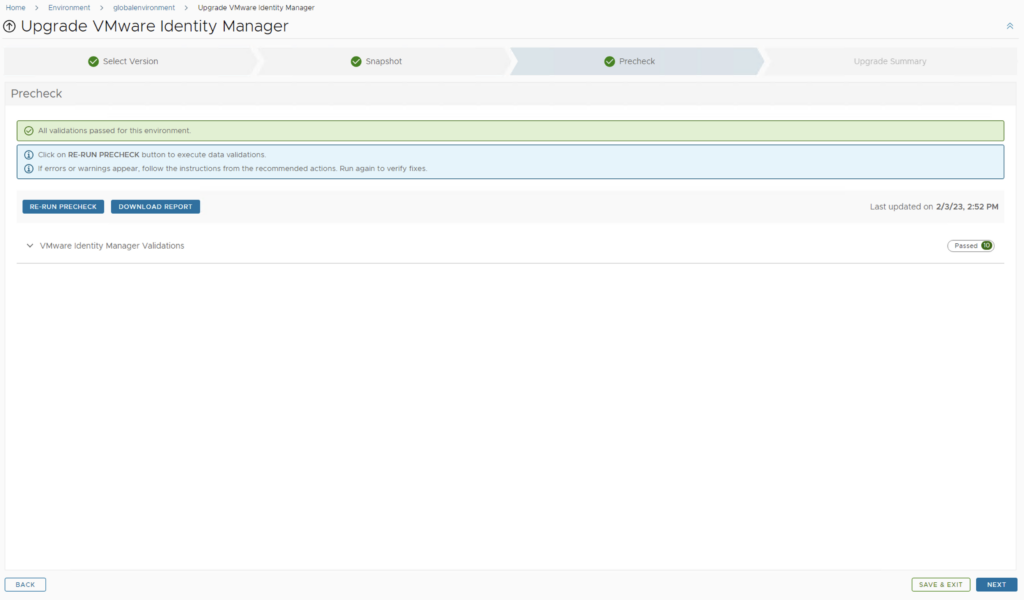
Run the Precheck to make sure there are no errors or issues.

There`s a list of Manual Validations. Once verified click on I took care of the manual steps above and am ready to proceed check box and click on Run Precheck

Once the check is complete we can review the checks that were performed and we can continue by clicking Next.

Review the upgrade details and click on Submit. We are then taken to the progress screen where we can follow the progress.

The system will get rebooted and once its back up we will be on 3.3.7

Since we are doing a major upgrade i strongly recommend to clean the cache before using the new vIDM version.